
Introduction
In the previous chapter we described the basic spatial and technical requirements for producing two- or three-dimensional animated films.
We also explained how to move the camera into the desired position using tripods or various set-ups.
This chapter is about setting up and operating the camera, smartphone, tablet or webcam correctly.
This knowledge is the prerequisite for creating animated films and also the basis for the next chapter The camera as a design tool in animated films.
| |
AnimaVision in action |
|
|
||
Material, equipment and tools
The type of camera, technical set-up and apps have already been determined in the previous chapter, depending on the particular form of animation. This chapter now deals with the operation and setting options of the related technology and software.
Main part
Operating the camera
Visibility of the screen
The person taking the photos should be able to see the screen of the camera, smartphone or tablet. If the camera is mounted on a tripod and positioned relatively high, it can be helpful for smaller participants to use a stool.
Some cameras also have a fold-out screen that can be moved in different directions. Then you can point the screen to the side or downwards and look at it while sitting.

DSLR without foldable display with stool for children
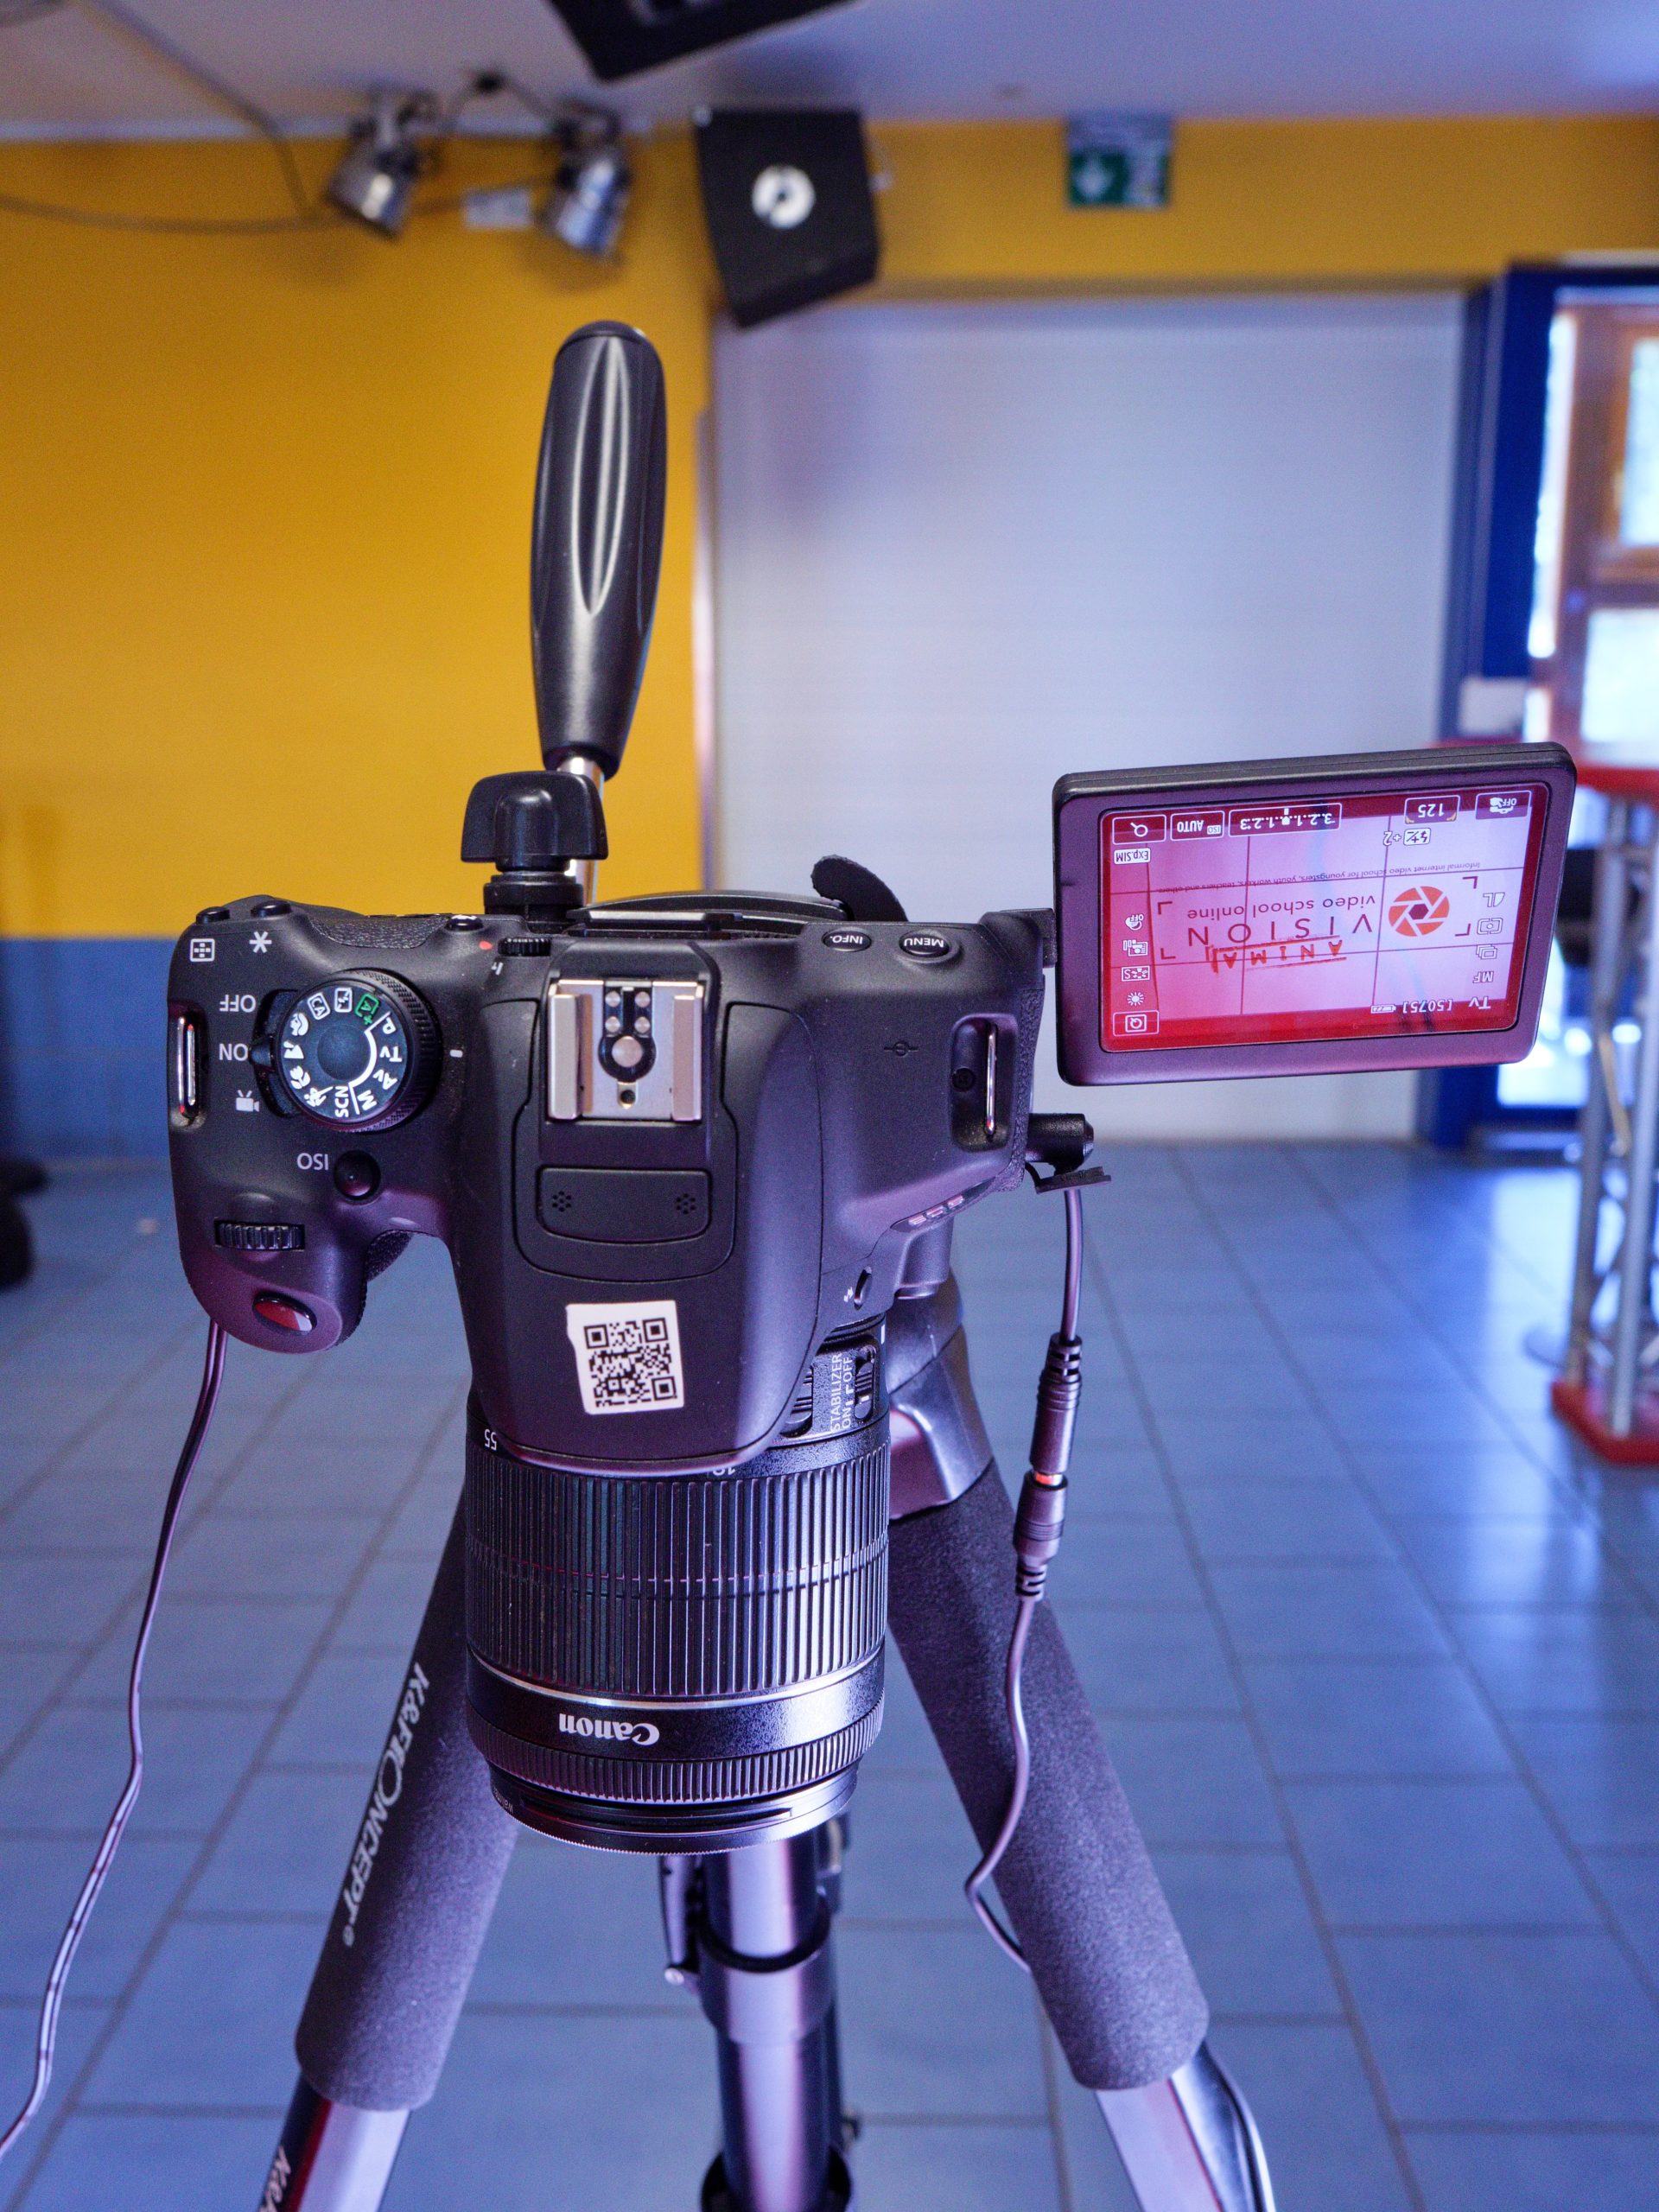
DSLR with screen folded down
Remote control
Pressing the shutter release of a camera can cause the camera to shake, resulting in motion blur in the image. It is therefore advantageous to use a so-called remote shutter release.
In addition, a remote shutter release can be handy so that no one has to stand directly by the camera all the time while taking pictures, and/or the person moving figures and objects can use the camera alone.
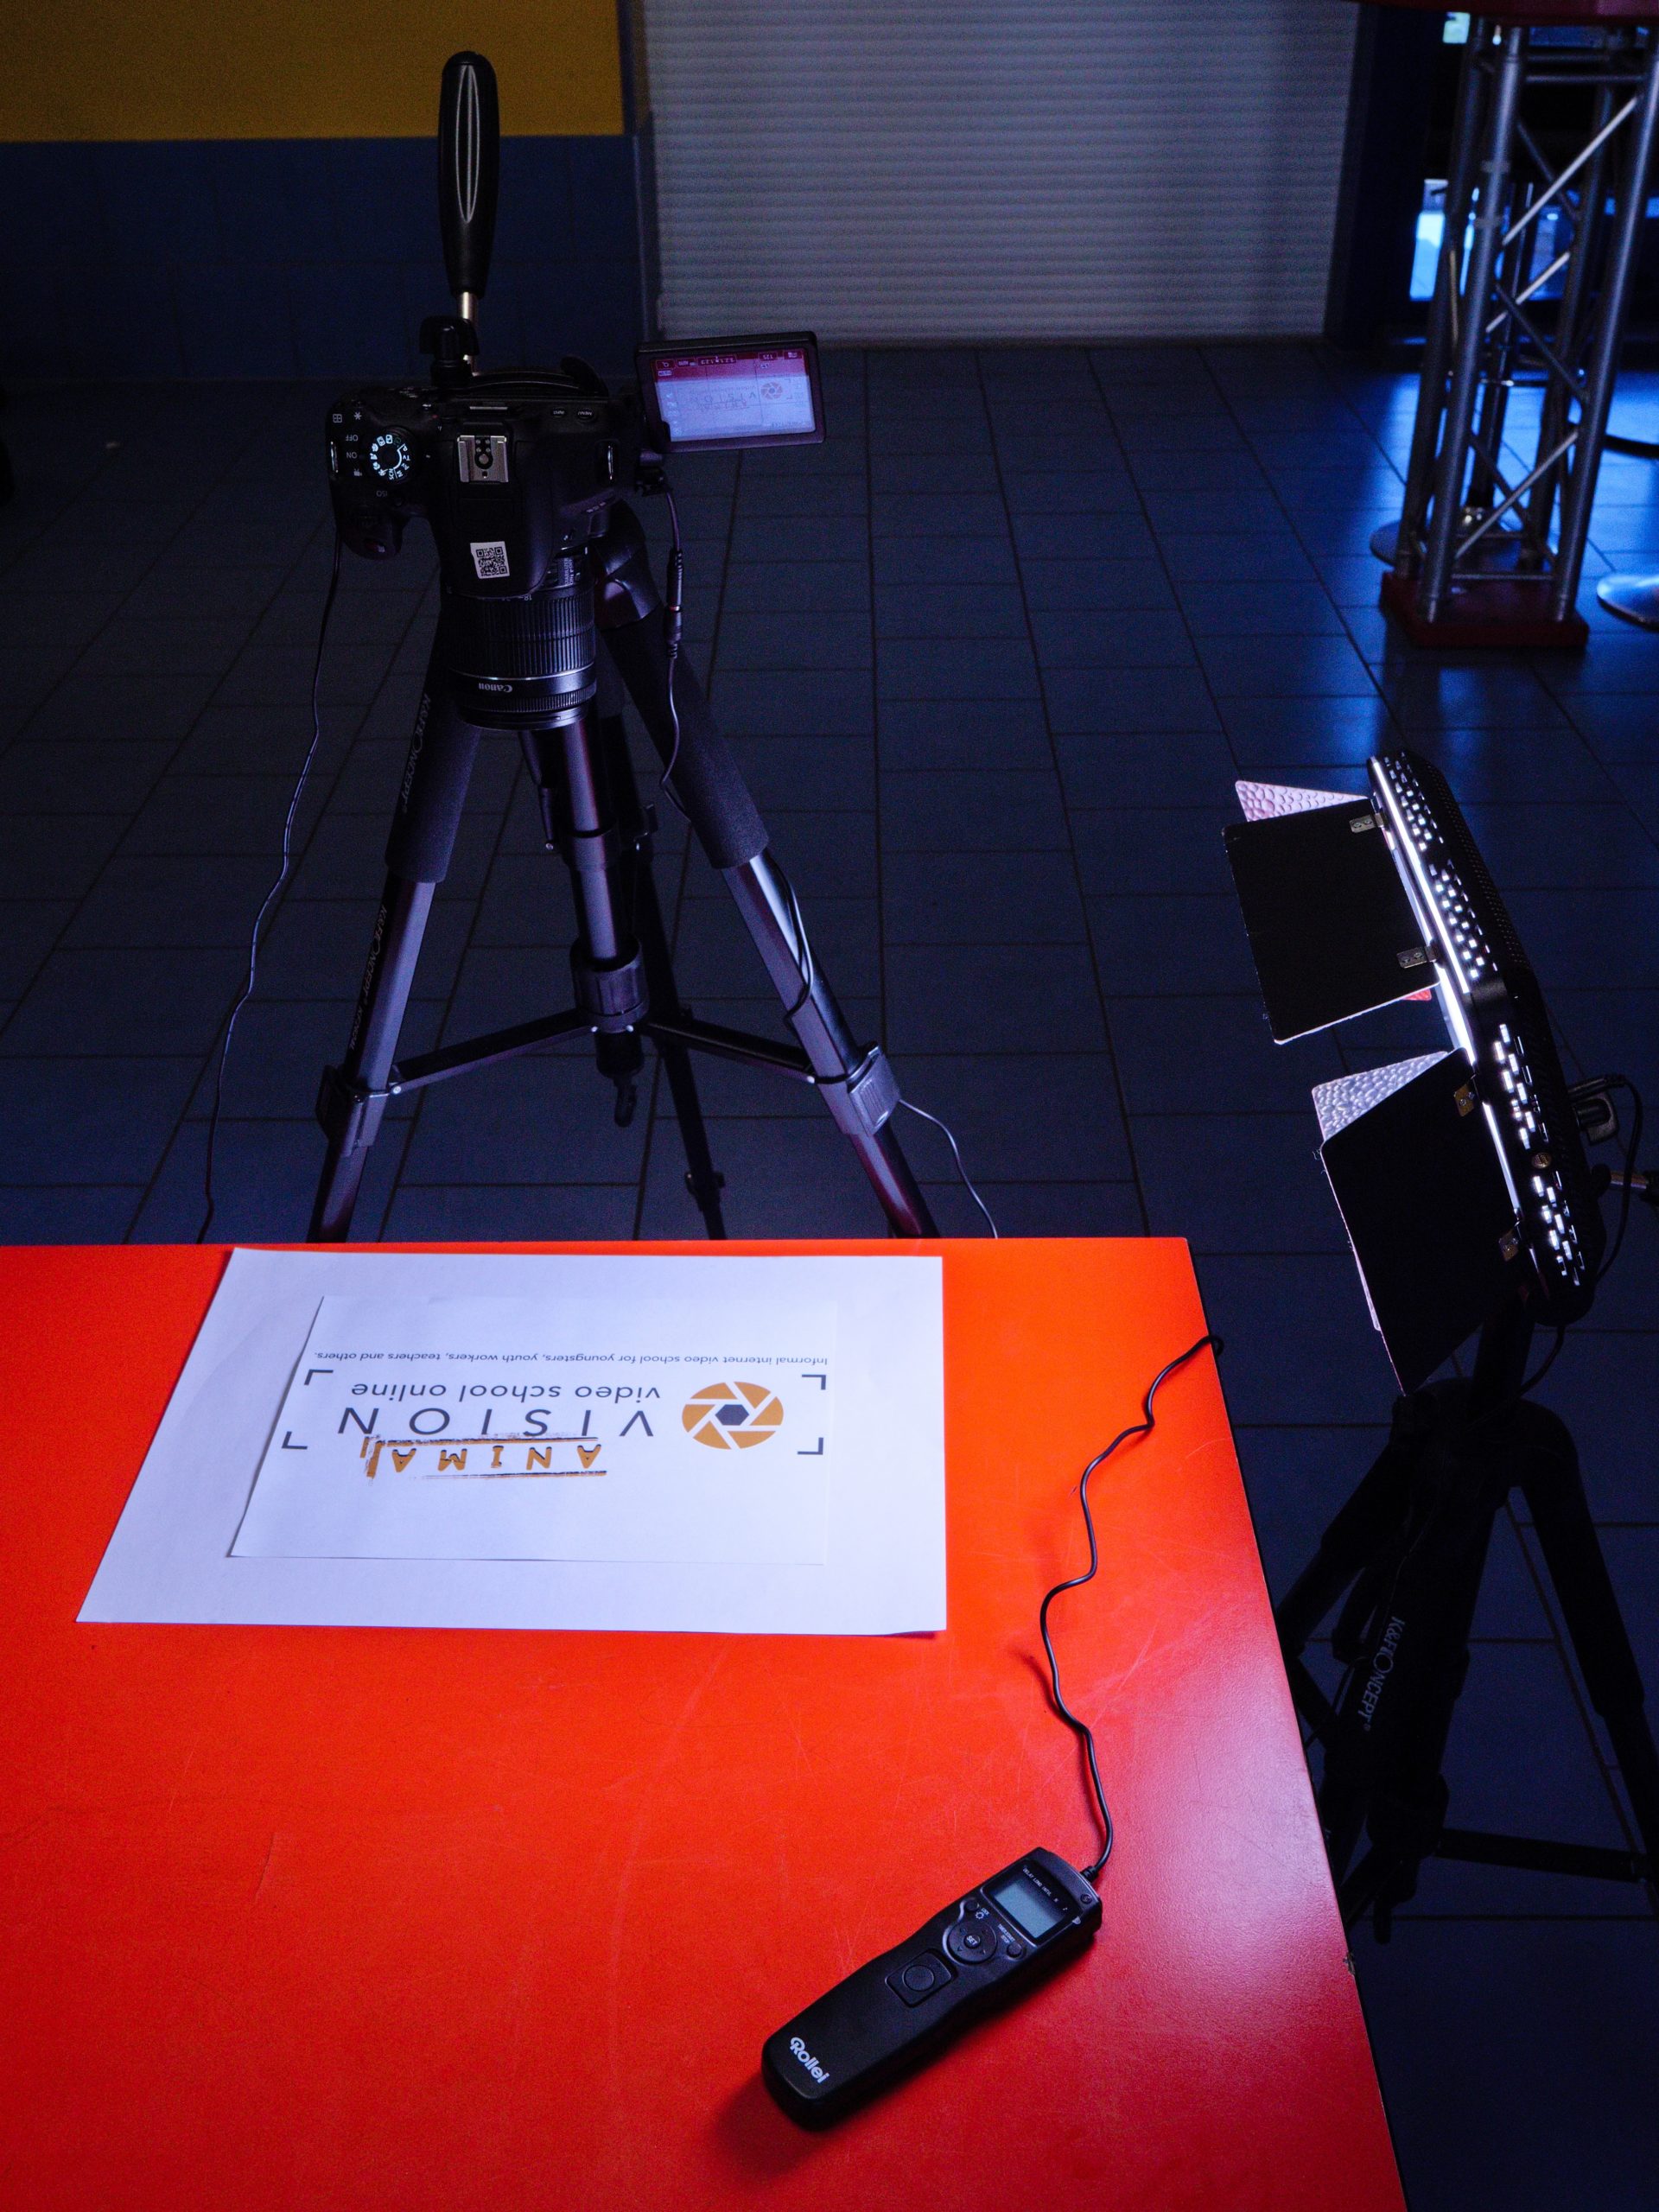 DSLR with remote control
Wired remote releases can be purchased at a reasonable price as accessories for cameras. Some cameras can also be set and triggered via smartphone app or via computer software.
For smartphones and tablets or iPhones / iPads, the volume buttons of headphones can usually be used as remote triggers. However, there are also special remote triggers that work with Bluetooth.
A webcam is of course always triggered via the keyboard or mouse of the computer connected to it. Wireless keyboards or mice can also be used here.
Controlling the camera with software
If you control the camera with software (e.g. Dragonframe) from a computer, it is not necessary to see the camera screen. You will see the camera image directly on the computer monitor.
The large preview on the monitor also makes it easier to roughly play through the movements of the figures and objects without taking further pictures.
You can also use the software to delete, copy or hide the pictures you have taken.
A list of computer software can be found at the end of this chapter under External Links.
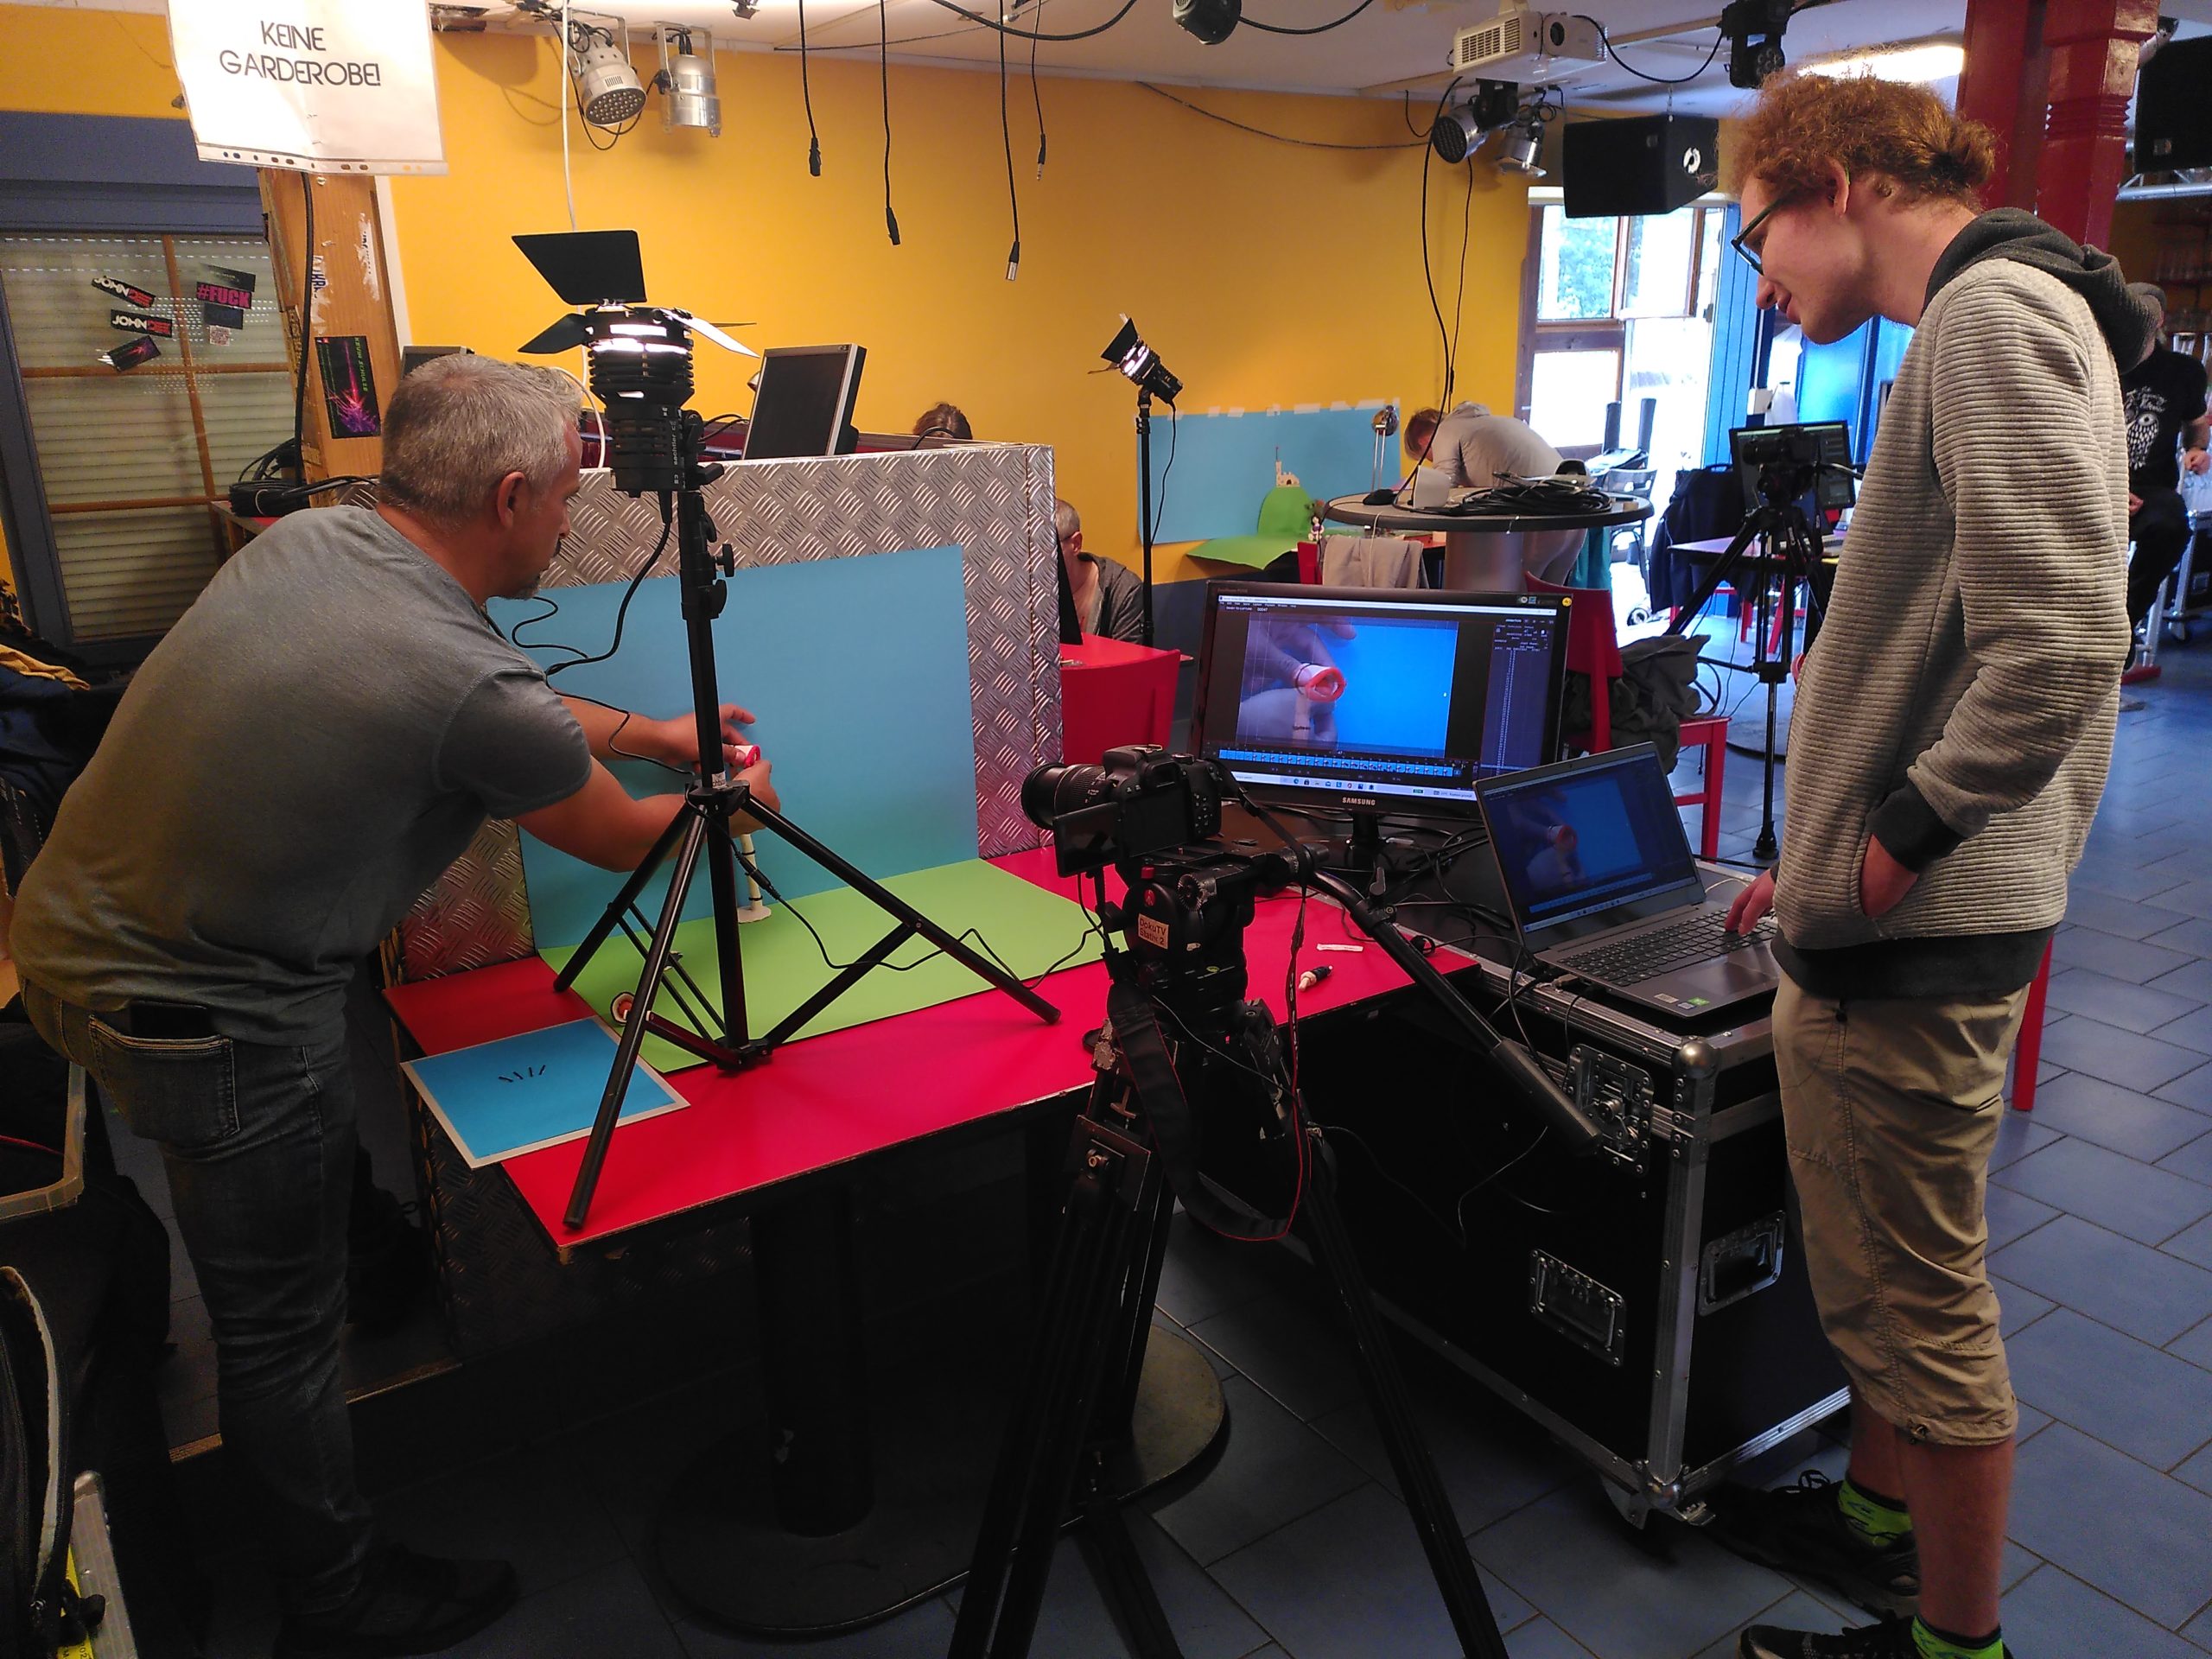 Example for the usage of a animation software on a notebook with a second screen for the animator
Controlling the camera via an app
The „Stop Motion Studio“ app for Android and iOS / iPadOS enables you to transfer the preview image of a smartphone/tablet or iPhone/iPad to the second smartphone/tablet or iPhone/iPad.
In this way, you can create an animated film in a similar way to a computer connected to the camera. You can also delete, move or copy individual pictures directly in the app.
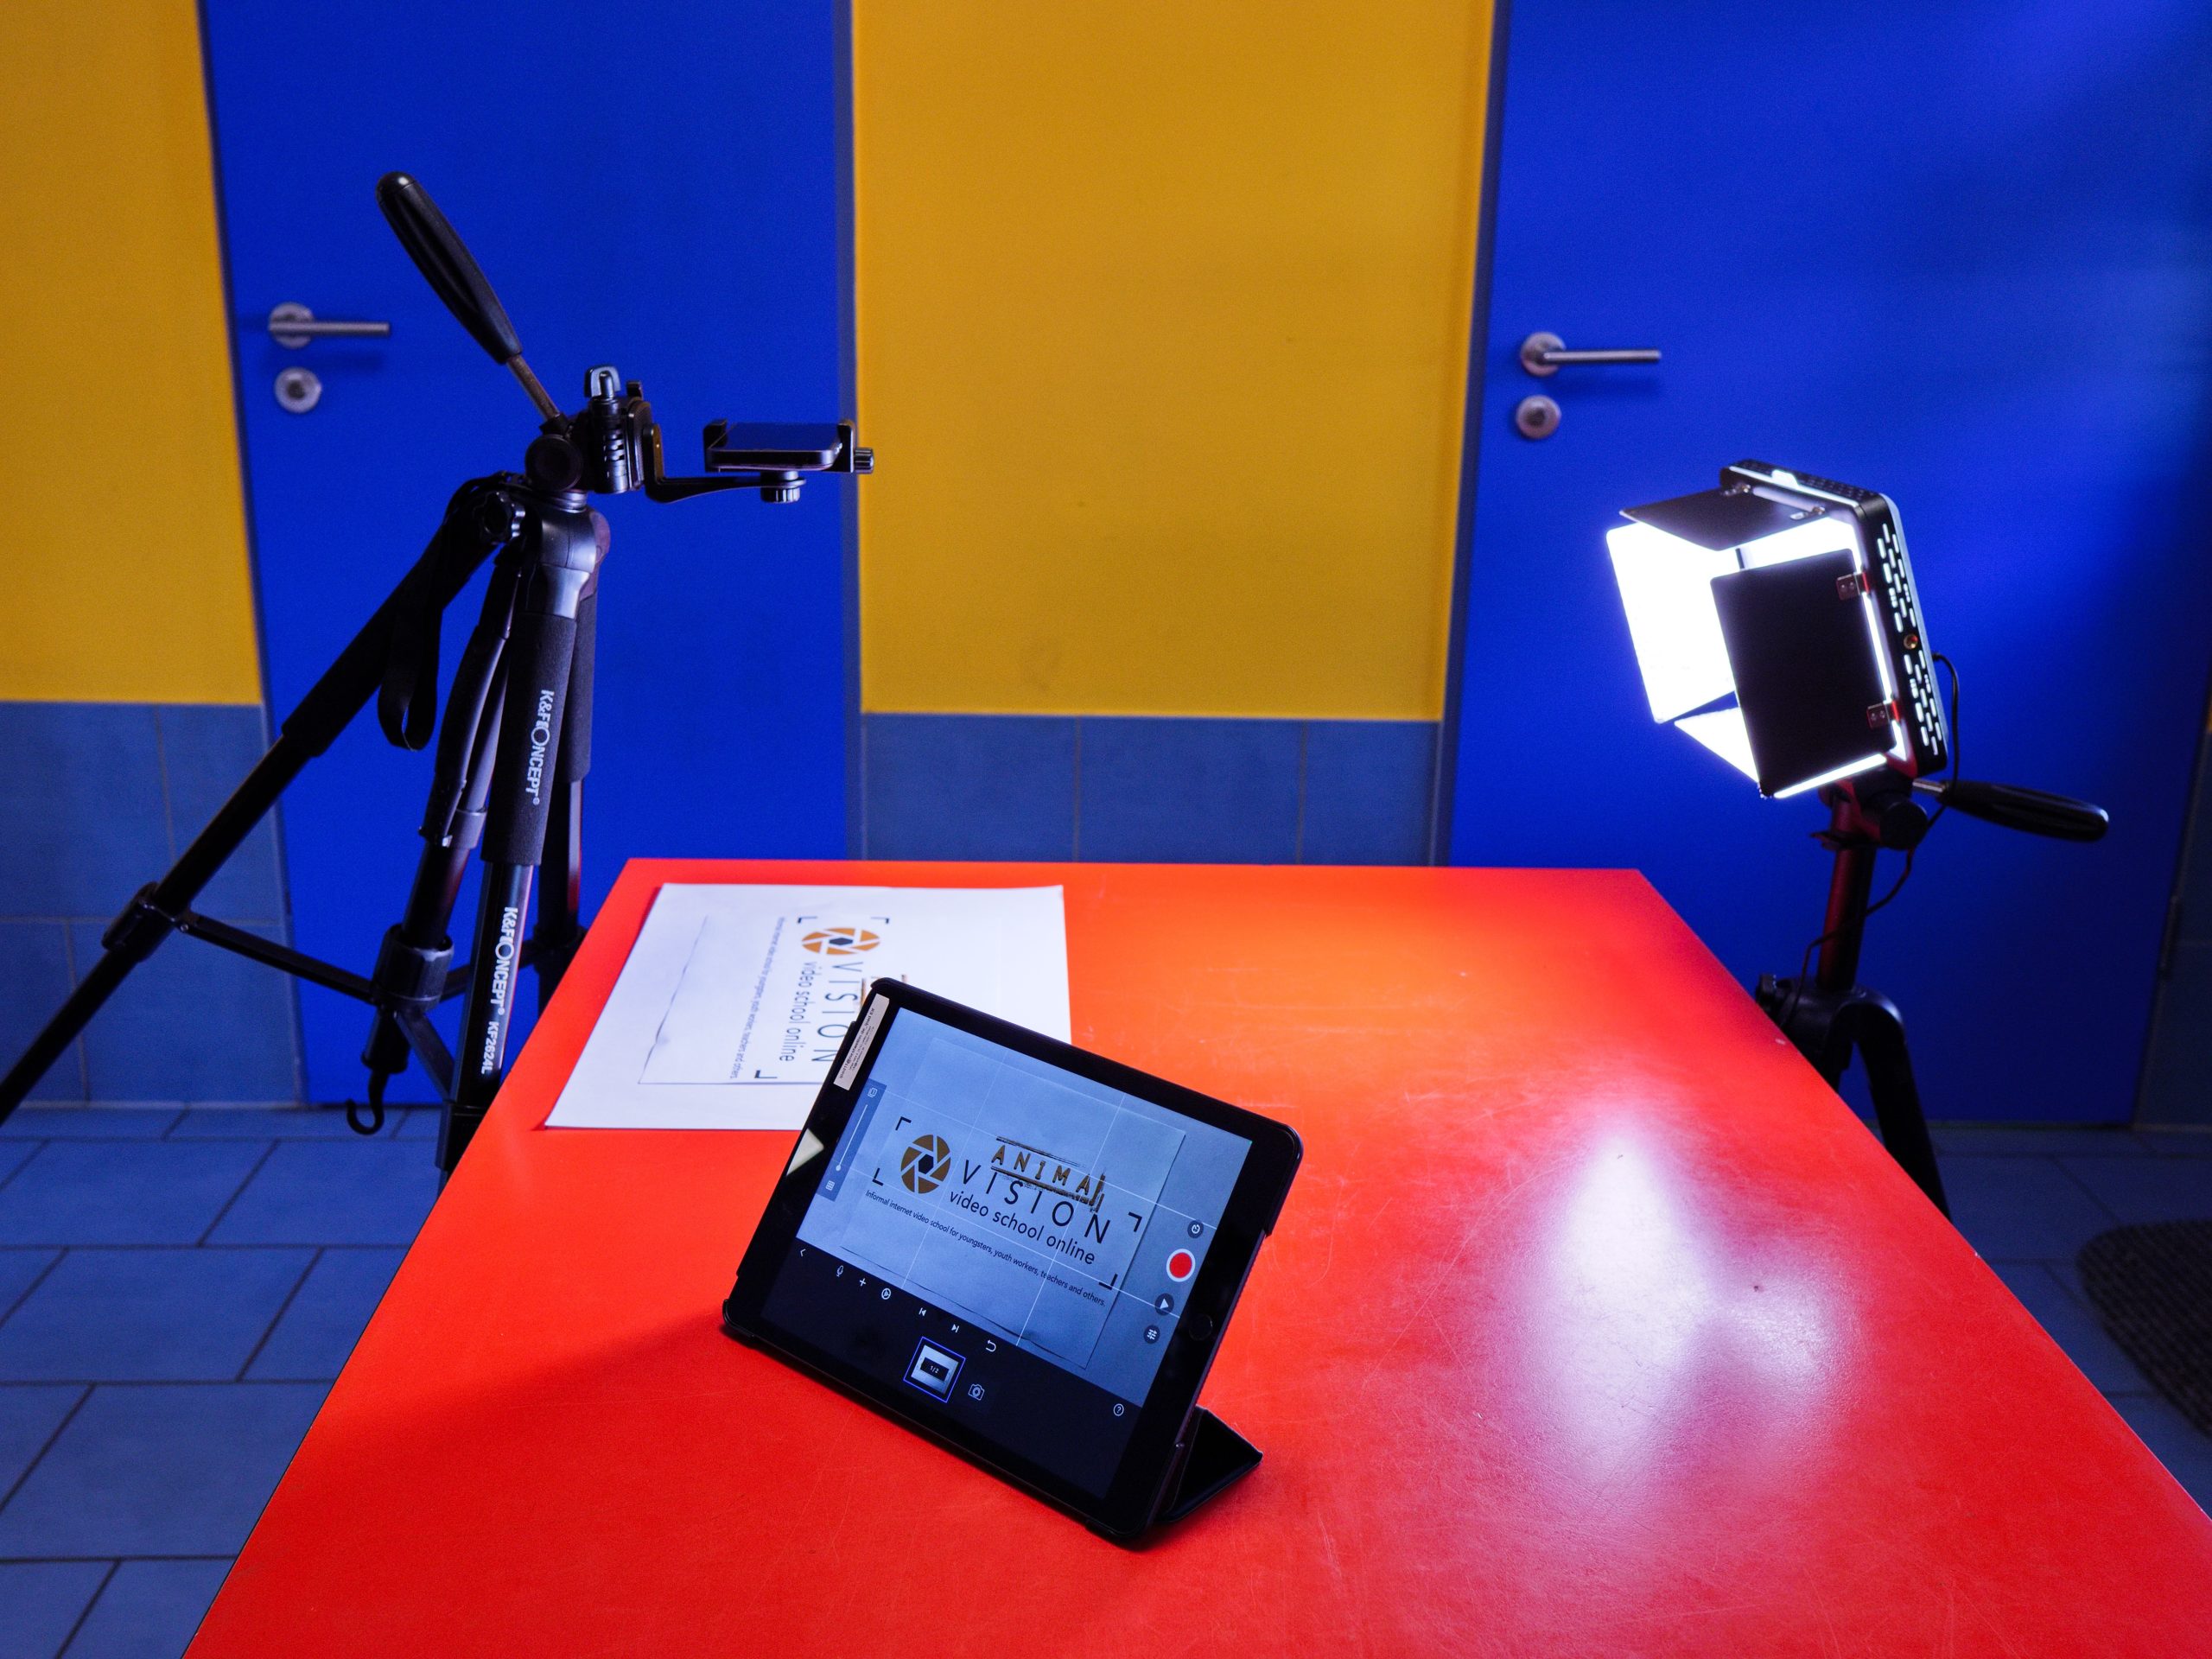
Remote Smartphone as camera and iPad with „Stop Motion Studio app„
You can find more information about the „Stop Motion Studio“ app in the external links.
Onion Skin function
Use of special animation software or animation apps has even more advantages. Here you will usually find a so-called onion skin function, with which you can superimpose the last photographed image semi-transparently on the current preview. This allows us to better estimate how big the changes are between the last picture and the current preview. Ultimately, how smooth the film will look depends on this.
The more experience you gain, the less you will need the onion skin, as you will develop a feeling for how big the maximum changes should be.
The onion skin is also very practical if you have accidentally moved an object or a figure too much, or if you want to continue exactly where you left off after an interruption.
Camera settings
Electronic aperture vs. mechanical aperture
Mirrorless cameras usually support the use of the so-called electronic aperture. Especially in animated film, where thousands of exposures are made quickly, the use of the electronic aperture extends the lifetime of your camera compared to the mechanical aperture.
However, the electronic shutter has the „disadvantage“ that it does not produce any noise. The sound of the mechanical shutter can be helpful as a signal to know when your hands can come back into the picture to change the position of figures and objects.
Some cameras also allow you to set an artificial shutter sound when using the electronic shutter.
Smartphones, tablets and webcams do not have a mechanical aperture at all, only an electronic one. In most cases, you can also set the noise.
Mirrorless and SLR cameras sometimes support the so-called „electronic front curtain shutter“, which only deactivates part of the aperture and the shutter noise can be somewhat quieter.
Image resolution
The image resolution of your camera should be at least as high as the resolution of the film you want to produce.
For example, if you want to produce a film in FullHD (or 2K), you need a minimum image resolution of 1920 x 1080 pixels.
In order to be able to select sections of the images in post-processing without any loss of quality, your camera should have a significantly higher resolution than the film that is to be produced.
For example, in order to be able to cut out a quarter of the photo for a film in FullHD without loss of quality (this corresponds to a twofold enlargement), the camera must have twice the image resolution. In our example, this would be a resolution of 3840 x 2160 (4K). Current smartphones and tablets usually have such a large image resolution. Cameras usually have a much higher one.
However, current webcams often only have a resolution of FullHD by default. Therefore, you should make sure that it is a 4K webcam if you intend to use cut-outs in post-processing.
Starting from 24 second, you can see the zoom, which was only added in the post-production.
If you don’t have that much time for an animated film project or the participants don’t have that much patience for the production of figures or objects in different sizes, you can also allow the participants to digitally zoom into the picture with a loss of quality.
The most important thing is that the shot sizes are chosen in such a way that the action is clear to the viewer!
Frame rate
In order to create a smooth movement for viewers, film usually requires 25 frames per second. But acceptable results can also be achieved with 15 frames per second. When creating an animated film, this saves a lot of time because only just over 50% of the images have to be generated for the duration of a film of the same length. This means a number less than 12 frames per second is no longer really perceived as a film and thus as fluid movement.
However, when working with smaller children, it is still okay to create films with less than 12 frames per second to avoid overwhelming them.
Here you can see an example of the video in which the same scene was made with different frame rates:
Same scene at different frame rates
For the production, this leads to a simple calculation: for a one-minute (60-second) film, with 15 frames per second (15 frames per second times 60 seconds), 900 frames must already be taken.
But how do you even know how many frames are needed for the action of the length of one second?
Imagine you want to animate a character walking. Then you can, for example, walk a few steps yourself to understand how many steps you take per second when walking. One second is roughly the time it takes to say „twenty-one“ or „twenty-two“ and so on.
You can try this out for yourselves: One step per second would be walking very slowly. Two steps per second is about a normal walking speed. So to get a frame rate of 12 frames per second, two steps should be represented by 12 individual frames.
If you want the animated figure to walk slowly, you would have to represent one step by 12 individual frames. If you resolve a step into 12 frames per second, you can still convert slow walking into fast walking during the editing process. The reverse is not possible. It is best to have a precise idea of the movement of the figure or object to save yourself unnecessary shots.
Summary: An animated film consists of individual changing images that are strung together. This creates an illusion of movement. Using approx. 12 frames per second, a fluid movement could be created. For slow movements you need many single frames, for fast movements not so many.
But there are also many moments in animated films in which the figures do not move very much. For example, a conversation between figures. Then it is enough to copy the mouth movements several times in the app which saves time when taking pictures.
Example of a conversation in which the mouth movements were copied several times (from 51 sec.).
A simple way to illustrate that a lot of time is passing in the action of the animated film is to animate a clock (see in the video from 12 sec.).
Focus
As with all films or photography, it is of course important that the objects or figures at the centre of the action in a scene are in focus. In three-dimensional animated films, the focus can also be used to create spatial depth (so-called depth effect).
In case of a cut-out animation, the base surface on which the objects are moved should always be in the plane of focus of the camera, smartphone or tablet. Once the focus is set correctly, you don’t need to change it. However, you should still check from time to time whether the focus is still OK.
With a camera, you can first focus on the base surface (cut-out animation) or the figure/object (3D) with the autofocus. This method is particularly useful with cameras because the autofocus recognises the area of focus better than the human eye.
If you do not want the focus to be changed, you can switch from autofocus to manual focus on the lens or camera, depending on the model. If you want to change the focus, simply repeat this process.
You can proceed in a similar way with smartphones and tablets. Here you can automatically focus on the base or the object by touching the display. Most camera apps (e.g. Manual Camera from Google) have a function to lock the focus so that the focus does not change again until you focus on the surface or an object by touching the screen. You can also use the manual focus of the smartphone or tablet and adjust the focus completely on your own.
If you want two objects that are at different distances from the camera to be in focus in the 3D animated film, place the focus between the two objects. You can achieve this, for example, by placing an object between two objects and bringing it into focus. Before releasing the shutter, remove the object again.
Many webcams only have a so-called fixed focus lens. With a fixed-focus lens, you cannot change the sharpness and no objects can be exactly in focus. On the other hand, the fixed-focus lens offers a very large depth of field in which everything is more or less in focus.
You can also use a webcam with a fixed focus lens for two- or three-dimensional animated films if you can do without the exact focusing of a figure / object (and the lack of depth effect). Since you do not have to adjust the focus at all, they are especially suitable for children!
Better and usually more expensive webcams with a focus function are usually focused by clicking on the figure/object on the monitor in the respective app.
Peaking function
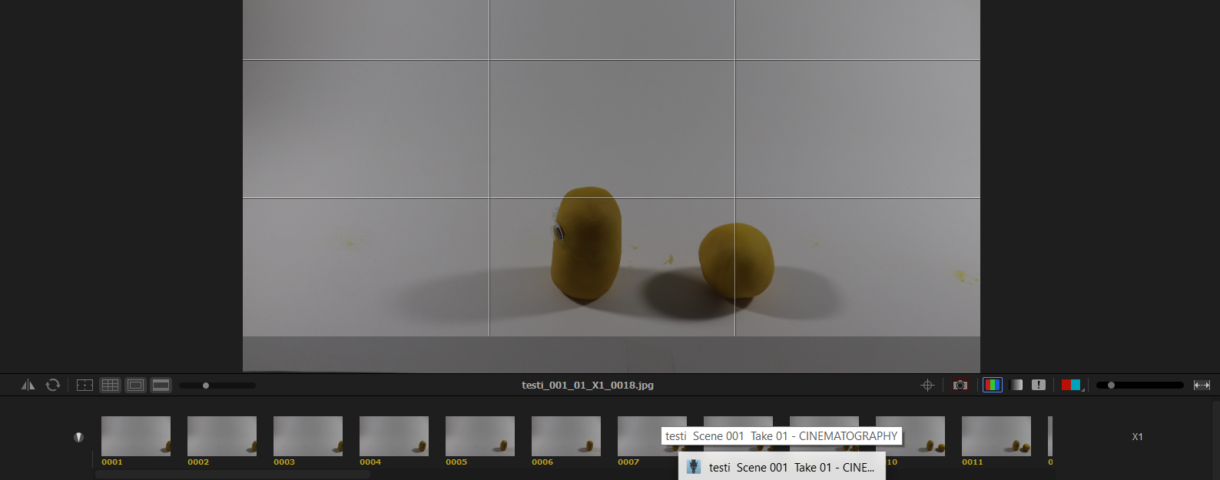
With cameras, smartphones and tablets, the so-called peaking function helps you to better recognise the focus area by means of small coloured pixel dots. Of course, the coloured pixels are not visible on the photo after the shutter has been released.
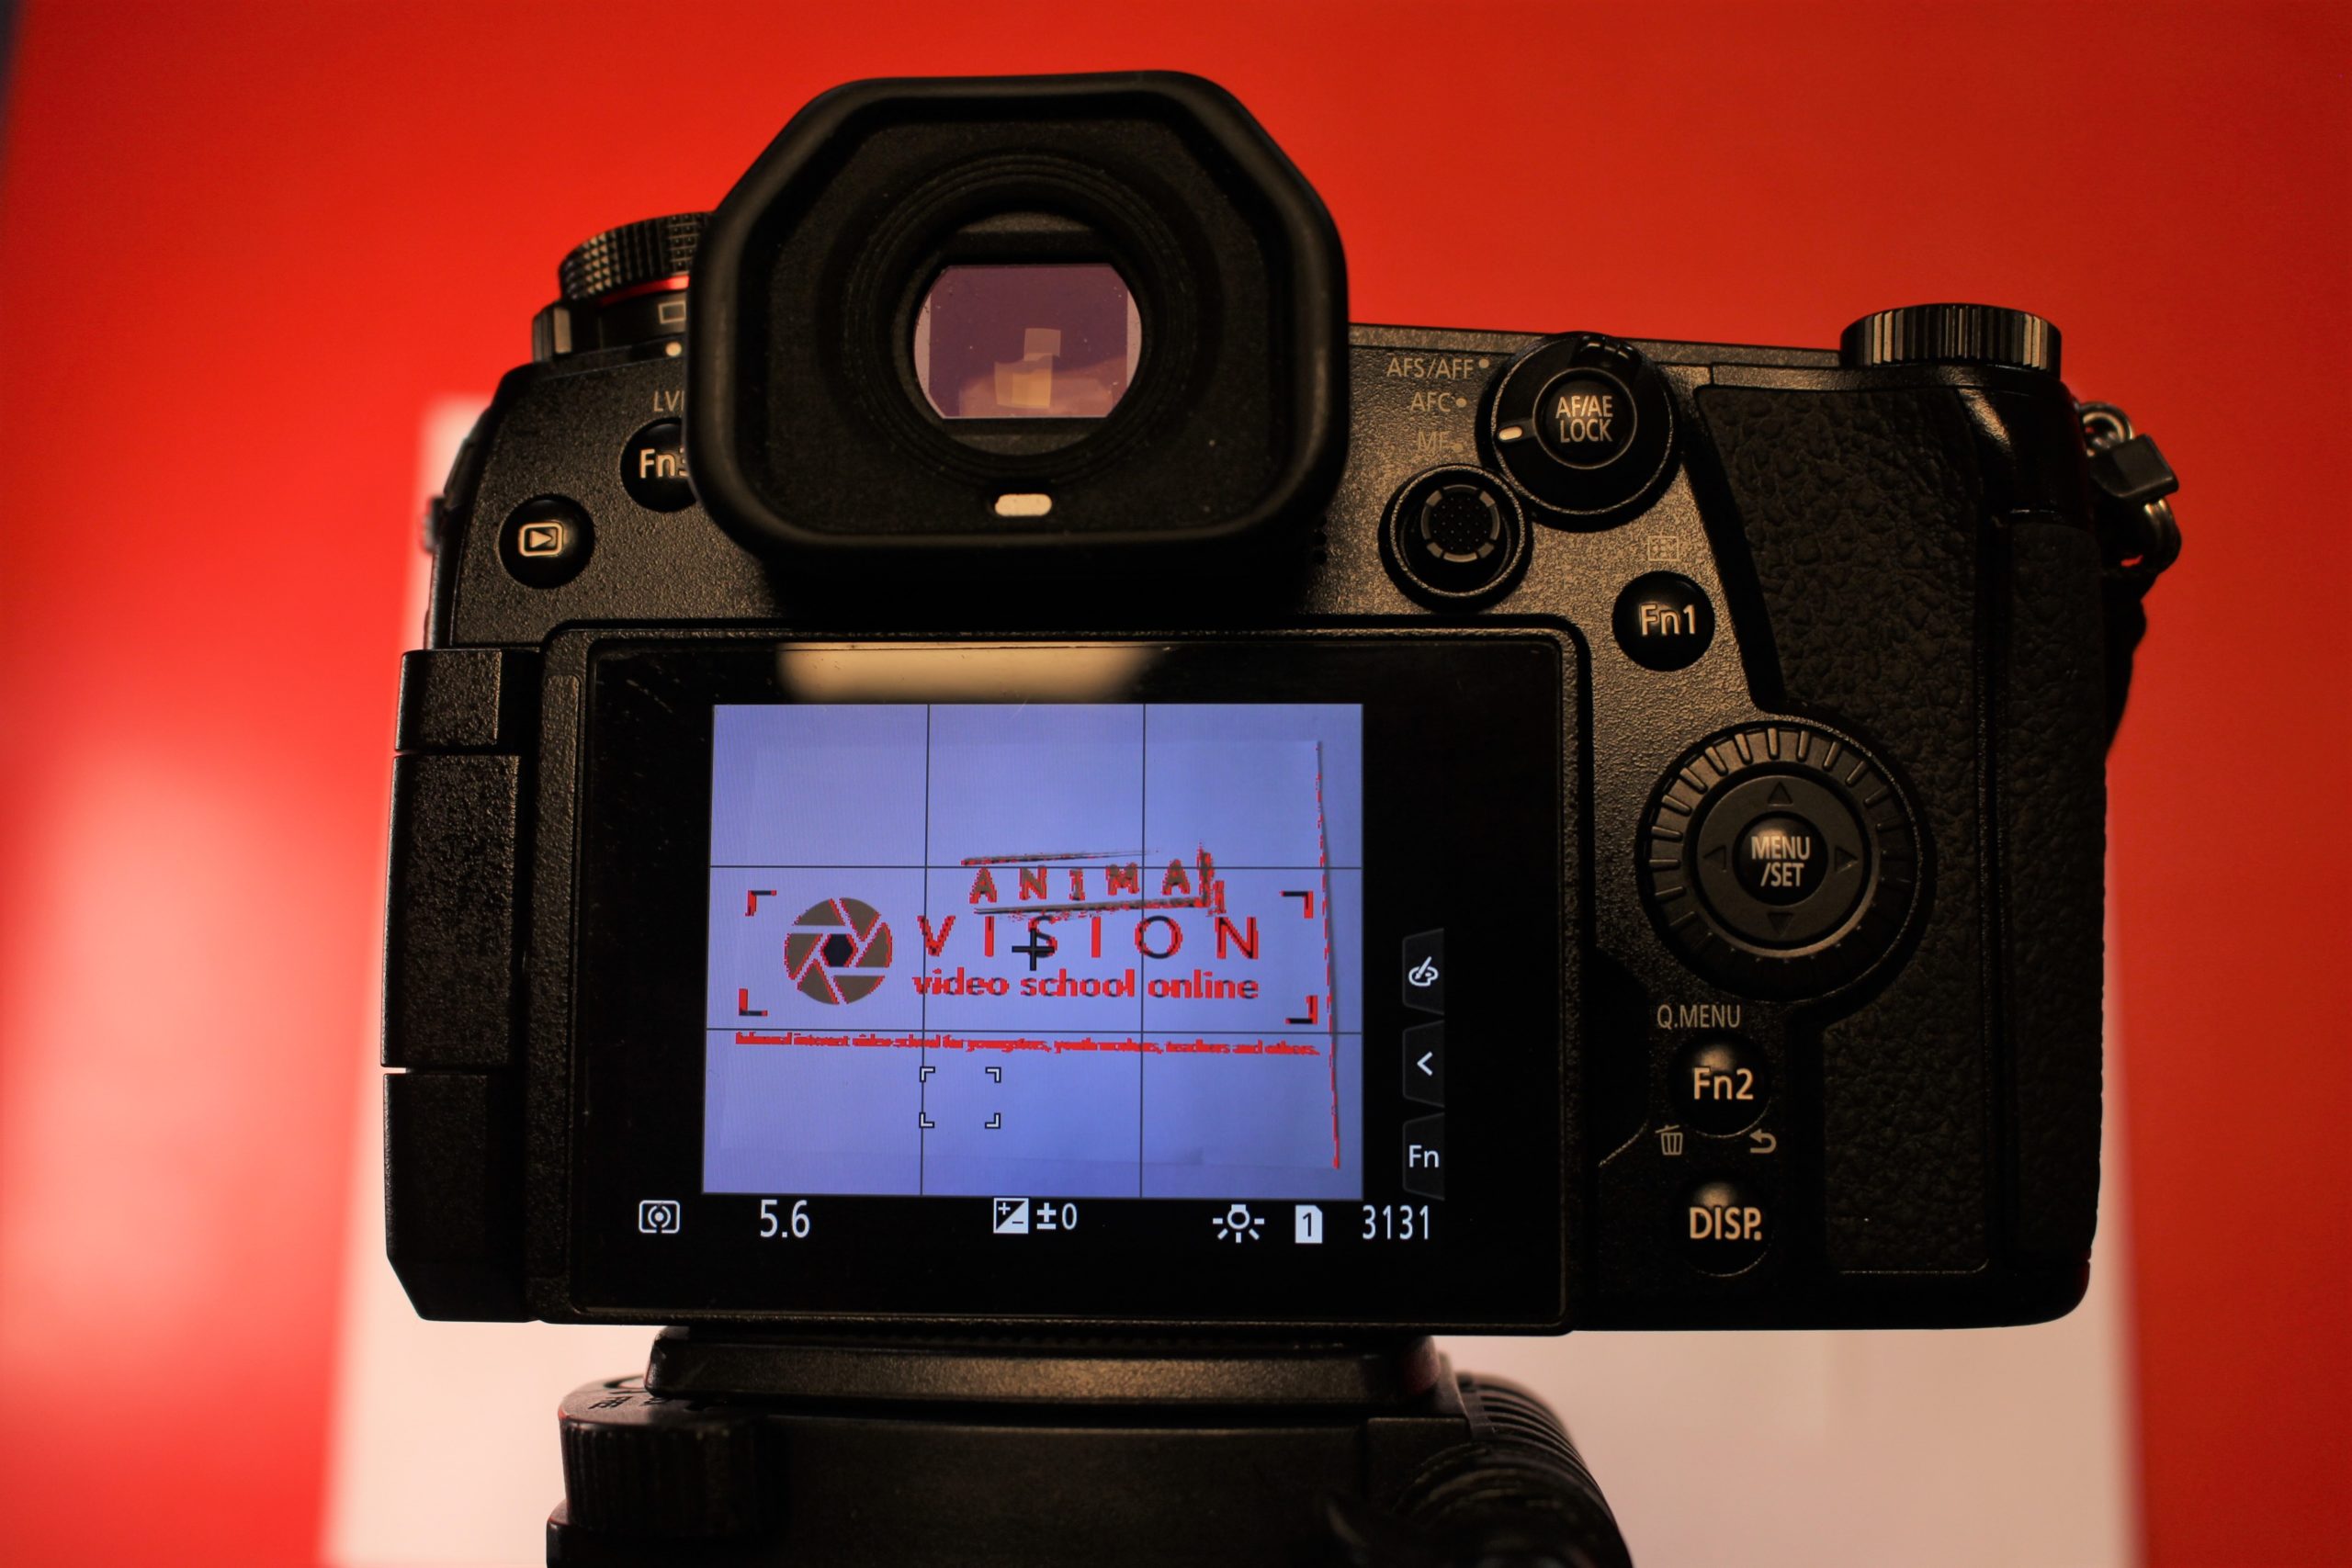
Camera Display with Peaking function (red dots)
Exposure time / aperture / ISO
The settings of exposure time, aperture and ISO are primarily important for working with a camera. When working with a smartphone, tablet or webcam, you can usually rely on the automatic settings. Depending on the app, however, you can also adjust the settings manually.
However, it is important for every type of camera that the focus and white balance are set manually if possible.
As with filming, exposure time, aperture and ISO are responsible for the sufficient brightness of the photos for an animated film.
The cut-out animation has the advantage of having both objects and the camera locked in place, so that relatively long exposure durations of more than 1/60th of a second can be used. To avoid motion blur, you should always make sure that the camera does not shake when you take the picture with the camera or use a remote control.
The aperture also affects the brightness of the image. If you need a lot of light, you should set the aperture as large as possible. This means that the value of the aperture in the camera settings should be as small as possible.
The smaller the aperture, however, the smaller the so-called depth of field. This is the area in which the objects can be seen sharply. This does not normally play a major role in layering, as all the objects are usually on one plane.
In three-dimensional animated films, for example, this is important when two figures or objects are offset behind each other and both need to be in focus. Then the aperture should be closed as much as possible (high aperture value). This in turn affects the exposure time and makes it longer.

Three figures are in different distance to the camera but are still in focus. The eyes of the viewer are lead to watch all three figures
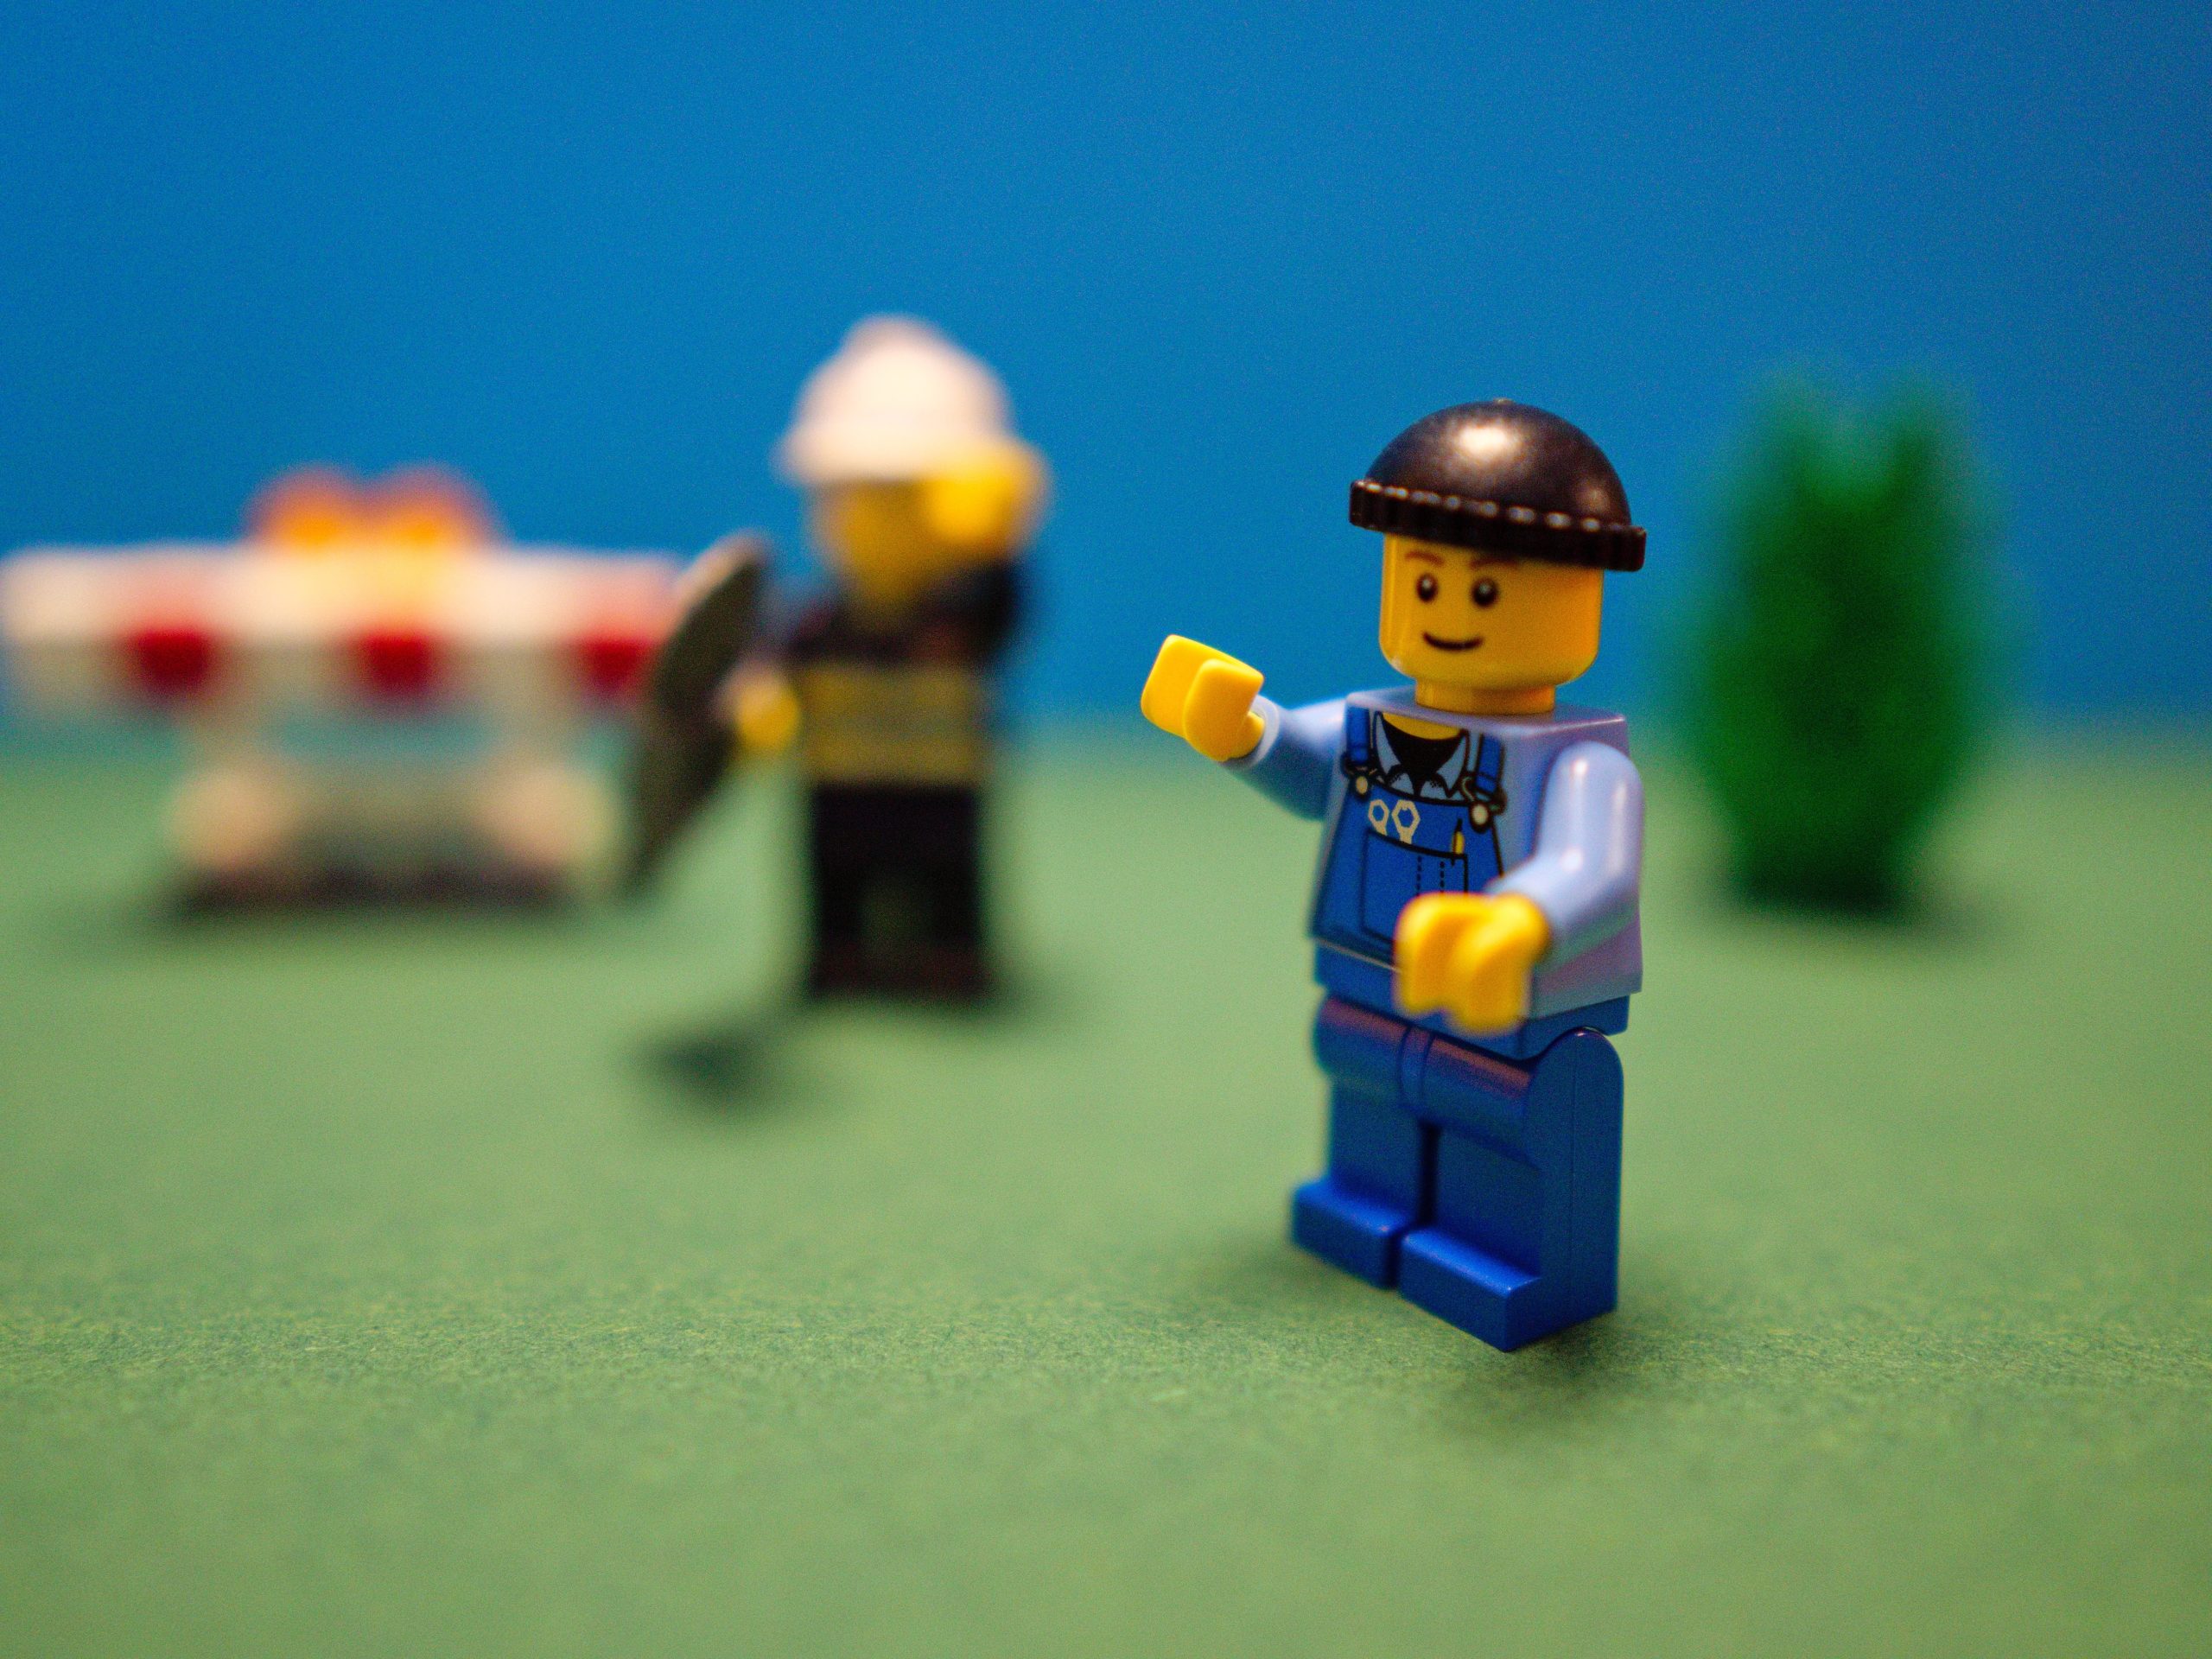
Two figures are in different distance to the camera but only one is in focus. The eyes of the viewer are lead to watch the figure in focus only.
Just like in normal film, the visual perception of the eye defines an area of focus in such a way that a part of the image is always out of focus. Blurred areas in the picture also create the impression of depth of space. For example, it makes sense to show the branch of a tree out of focus in the foreground of a scene and the action in behind of it in full focus.
Meadow in foreground and tree in background create depth of space
You can set the ISO higher or lower as needed. Since you have the possibility to light your setting well, standard values of 100 to 200 are usually sufficient.
White balance
The white balance ensures that the colour temperature of the image is adapted to the prevailing light types. When making animated films, it is particularly important that you do not select an automatic white balance in the settings of your camera or smartphone/tablet. If you do, the white balance will be adjusted again for every photo you take, which leads to an unattractive change in colour temperature that looks like flickering.
With a camera or even in the photo and animation apps for smartphone/tablet and webcam, you can usually choose between different colour temperatures, such as daylight, incandescent or neon. However, the actual lighting in the room is not as important as the setting you are most comfortable with.
You can also use different white balance presets to create a certain mood in your film! For example, the daylight setting looks warm, the neon light setting cool!
You can always adjust the white balance to the current lighting situation by performing a manual white balance. Even if the lighting situation changes, for example because you have moved the lamps or the sunlight has changed, the colour impression of the recordings and thus of your entire film remains consistent through a new manual white balance.
You can find detailed information on white balance in the chapter Advanced Camera Skills.
Setting sizes and perspectives
Two-dimensional animated film
In a cut-out animation, you can only change the section and thus the shot size that you shoot by making settings on the camera.
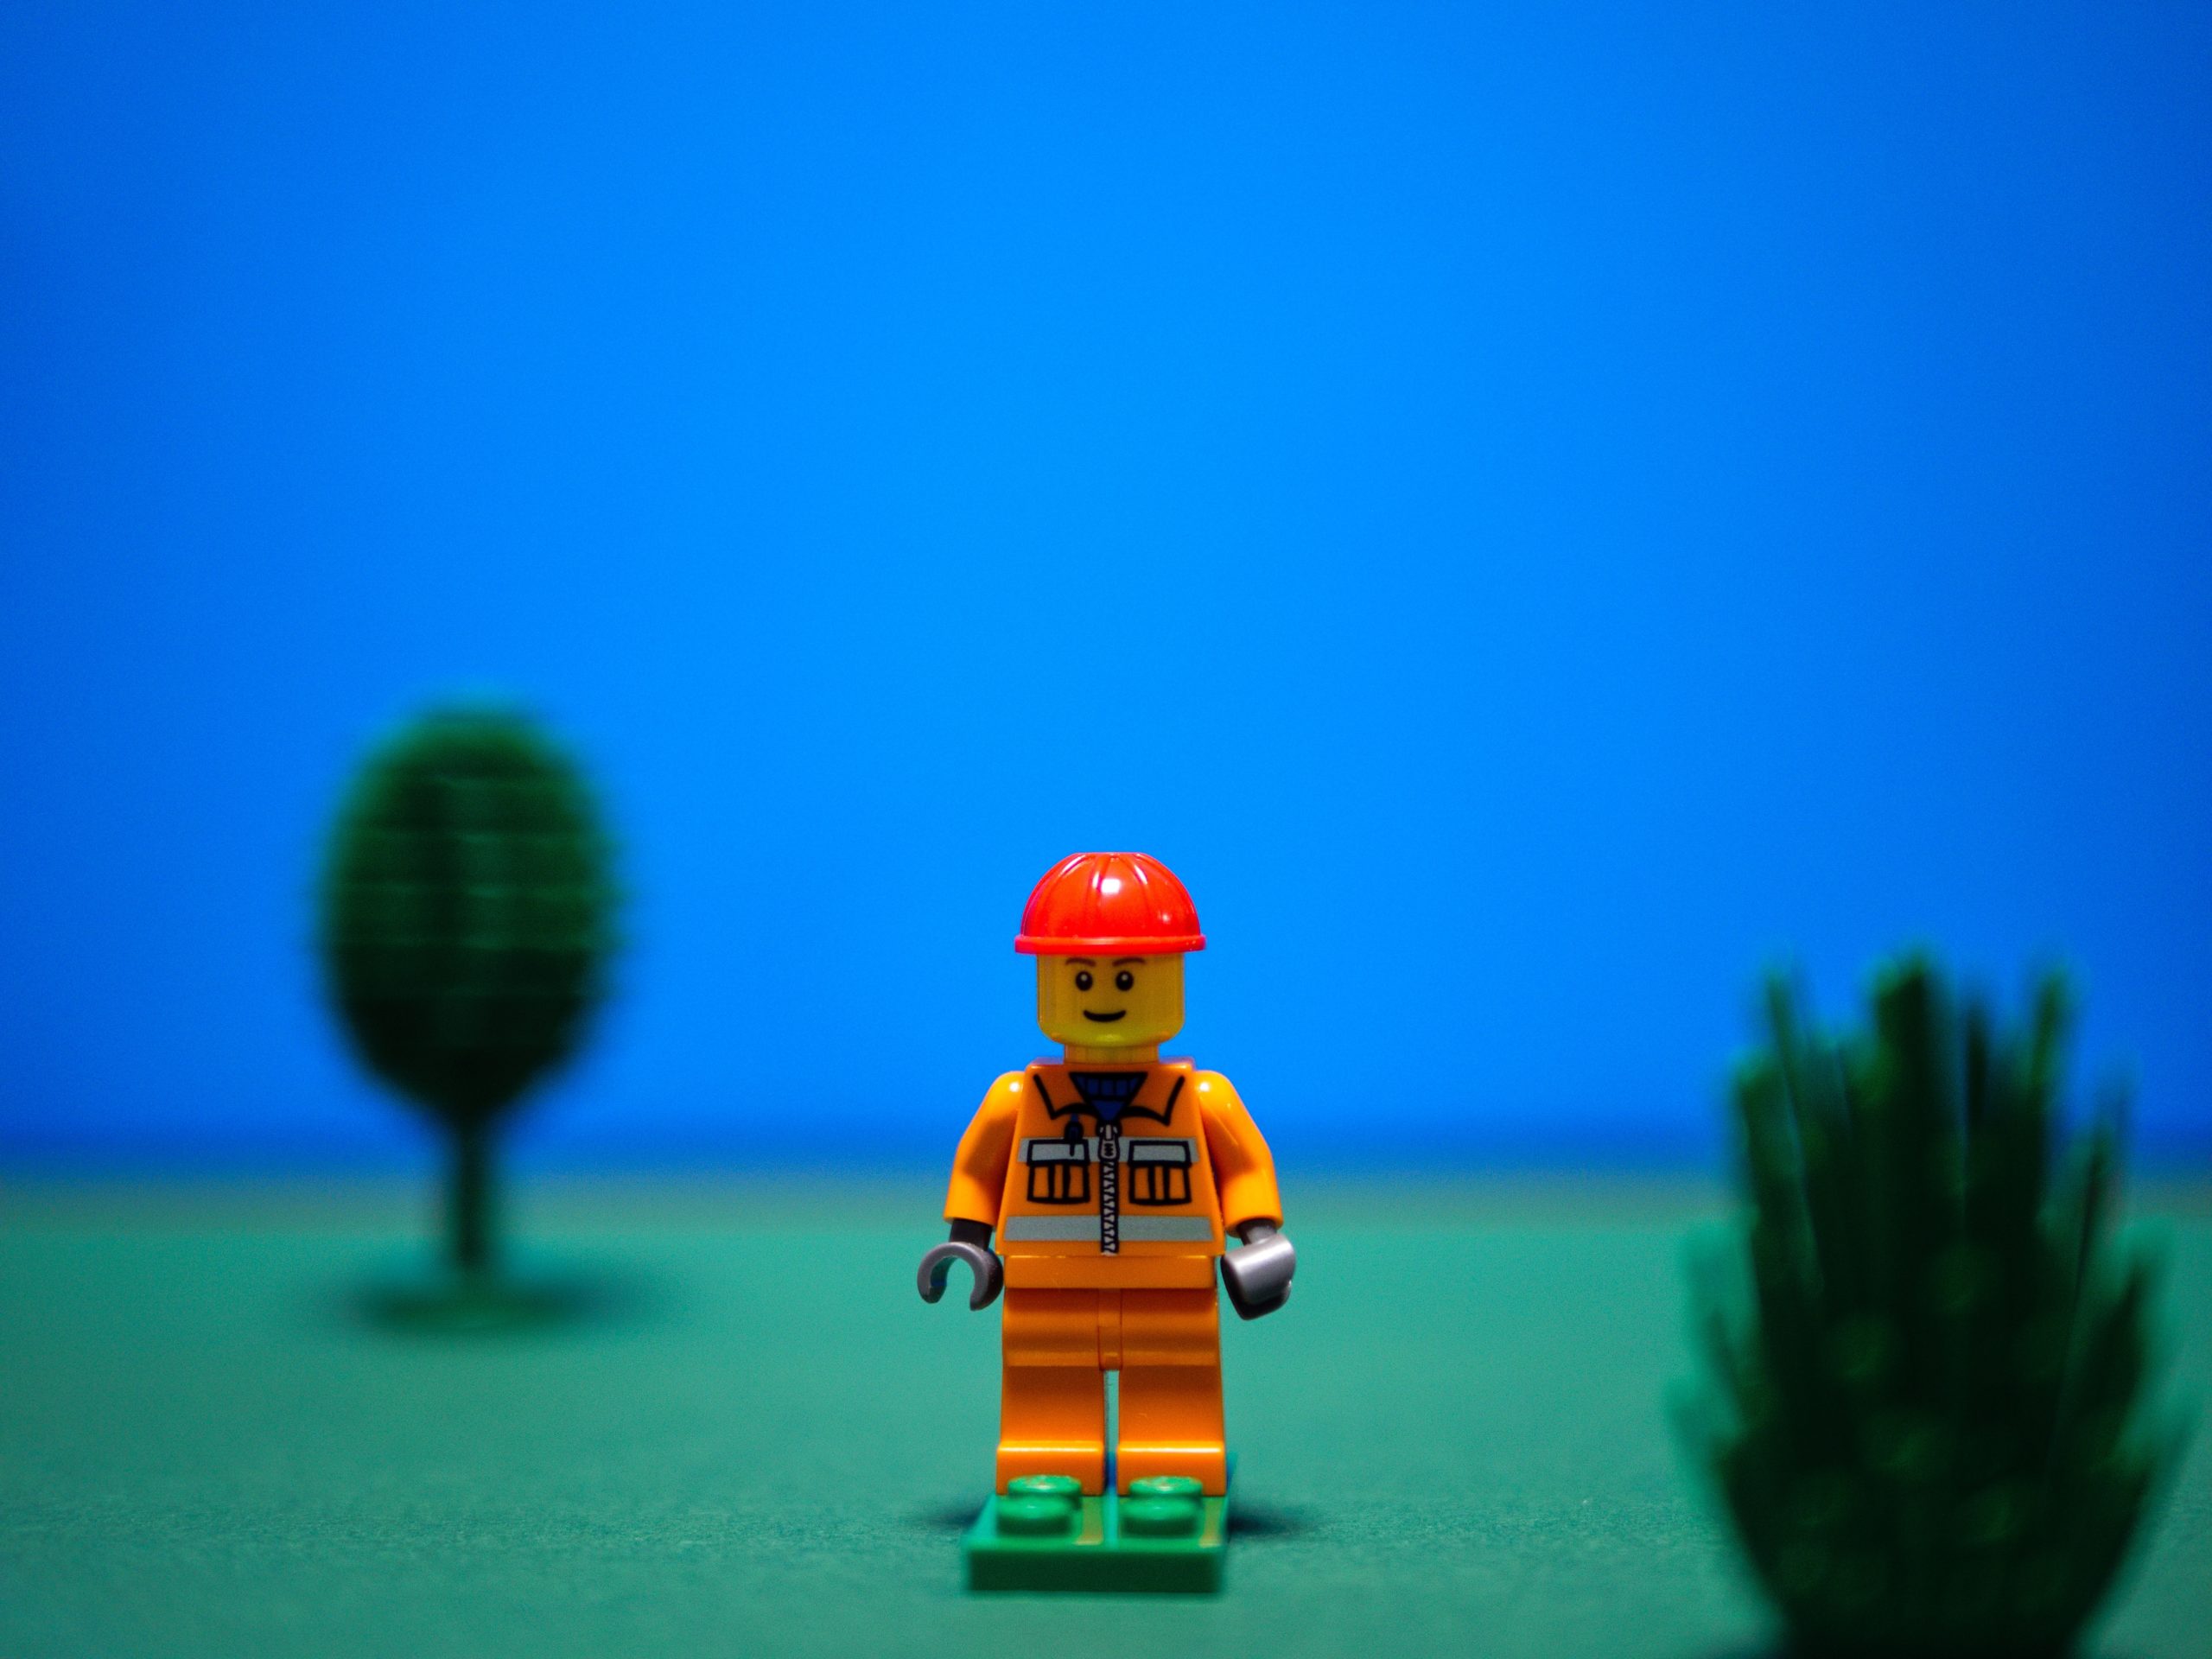
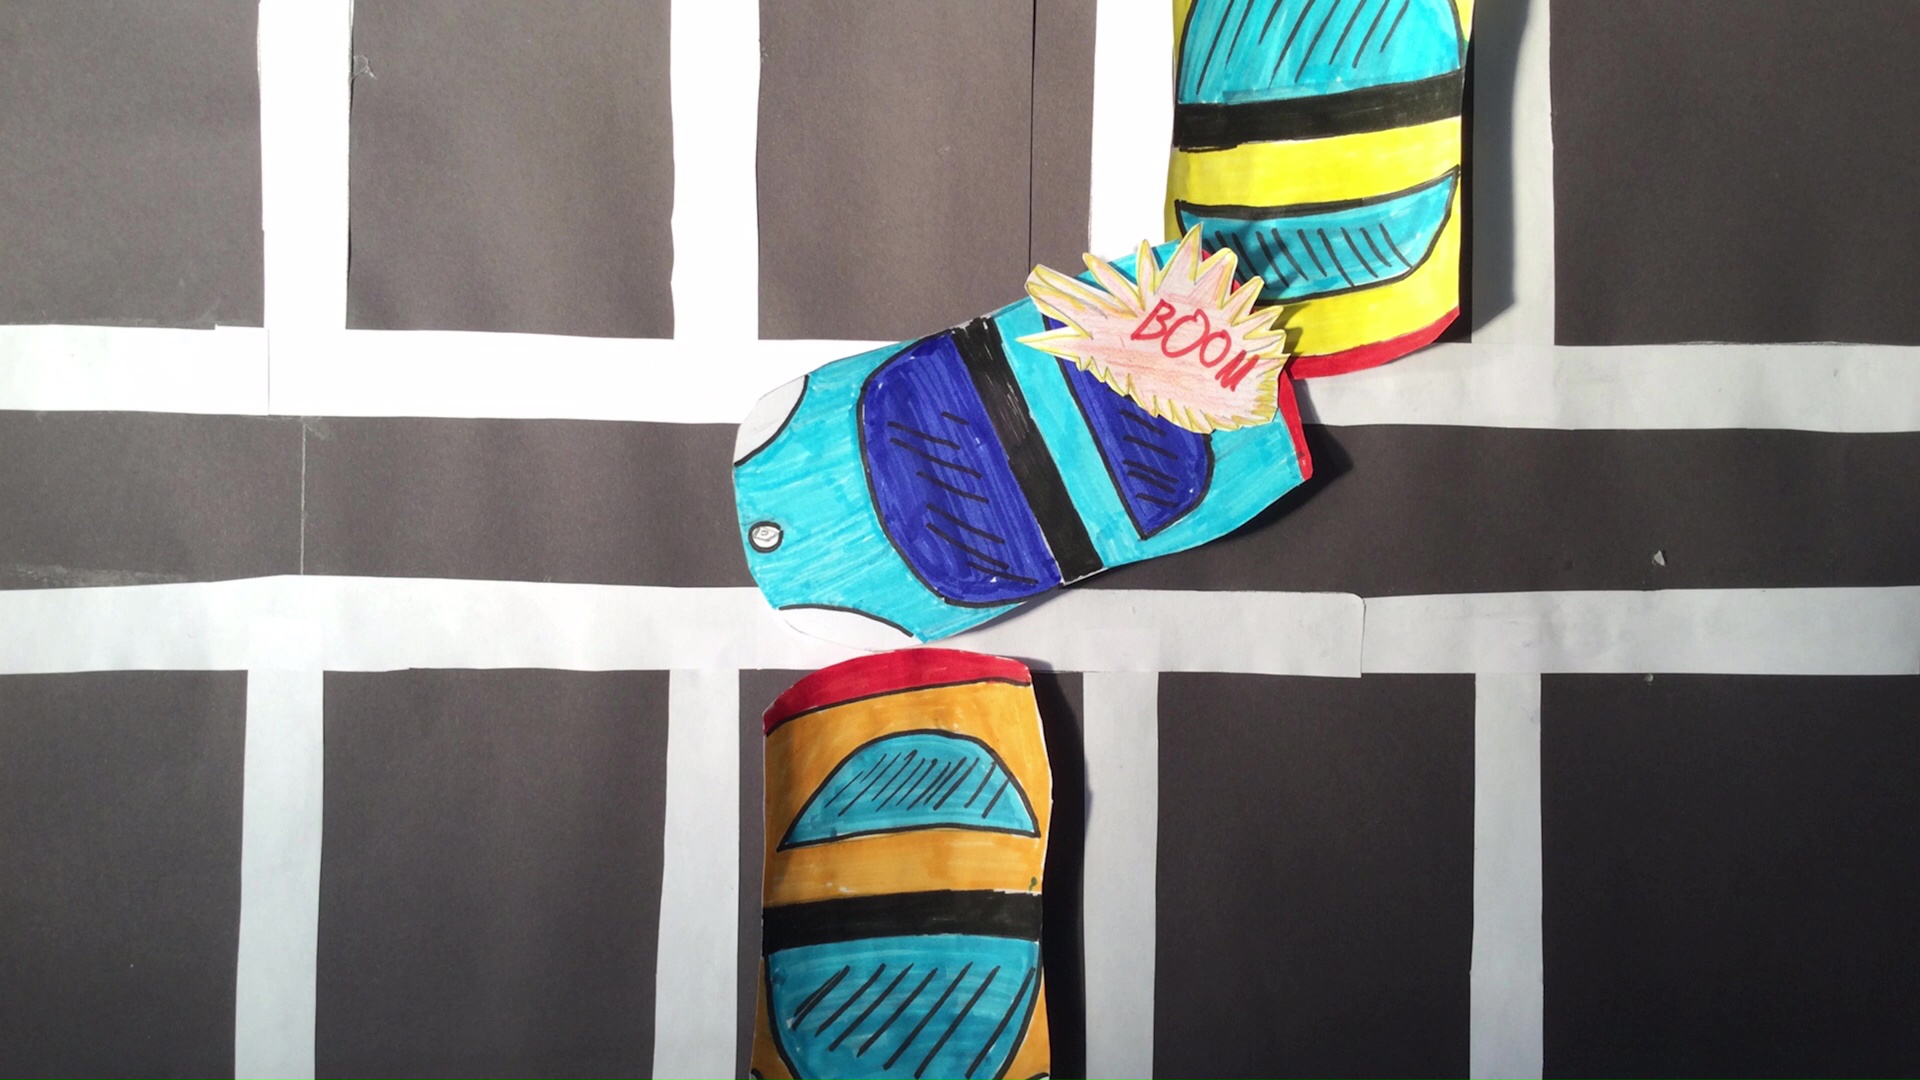
 Example of a supertotal
It is not possible to change the perspective via camera because the camera is always in the same position.
However, you can create different perspectives and also a spatial depth by designing the figures and the background.
 Example of bird’s eye view
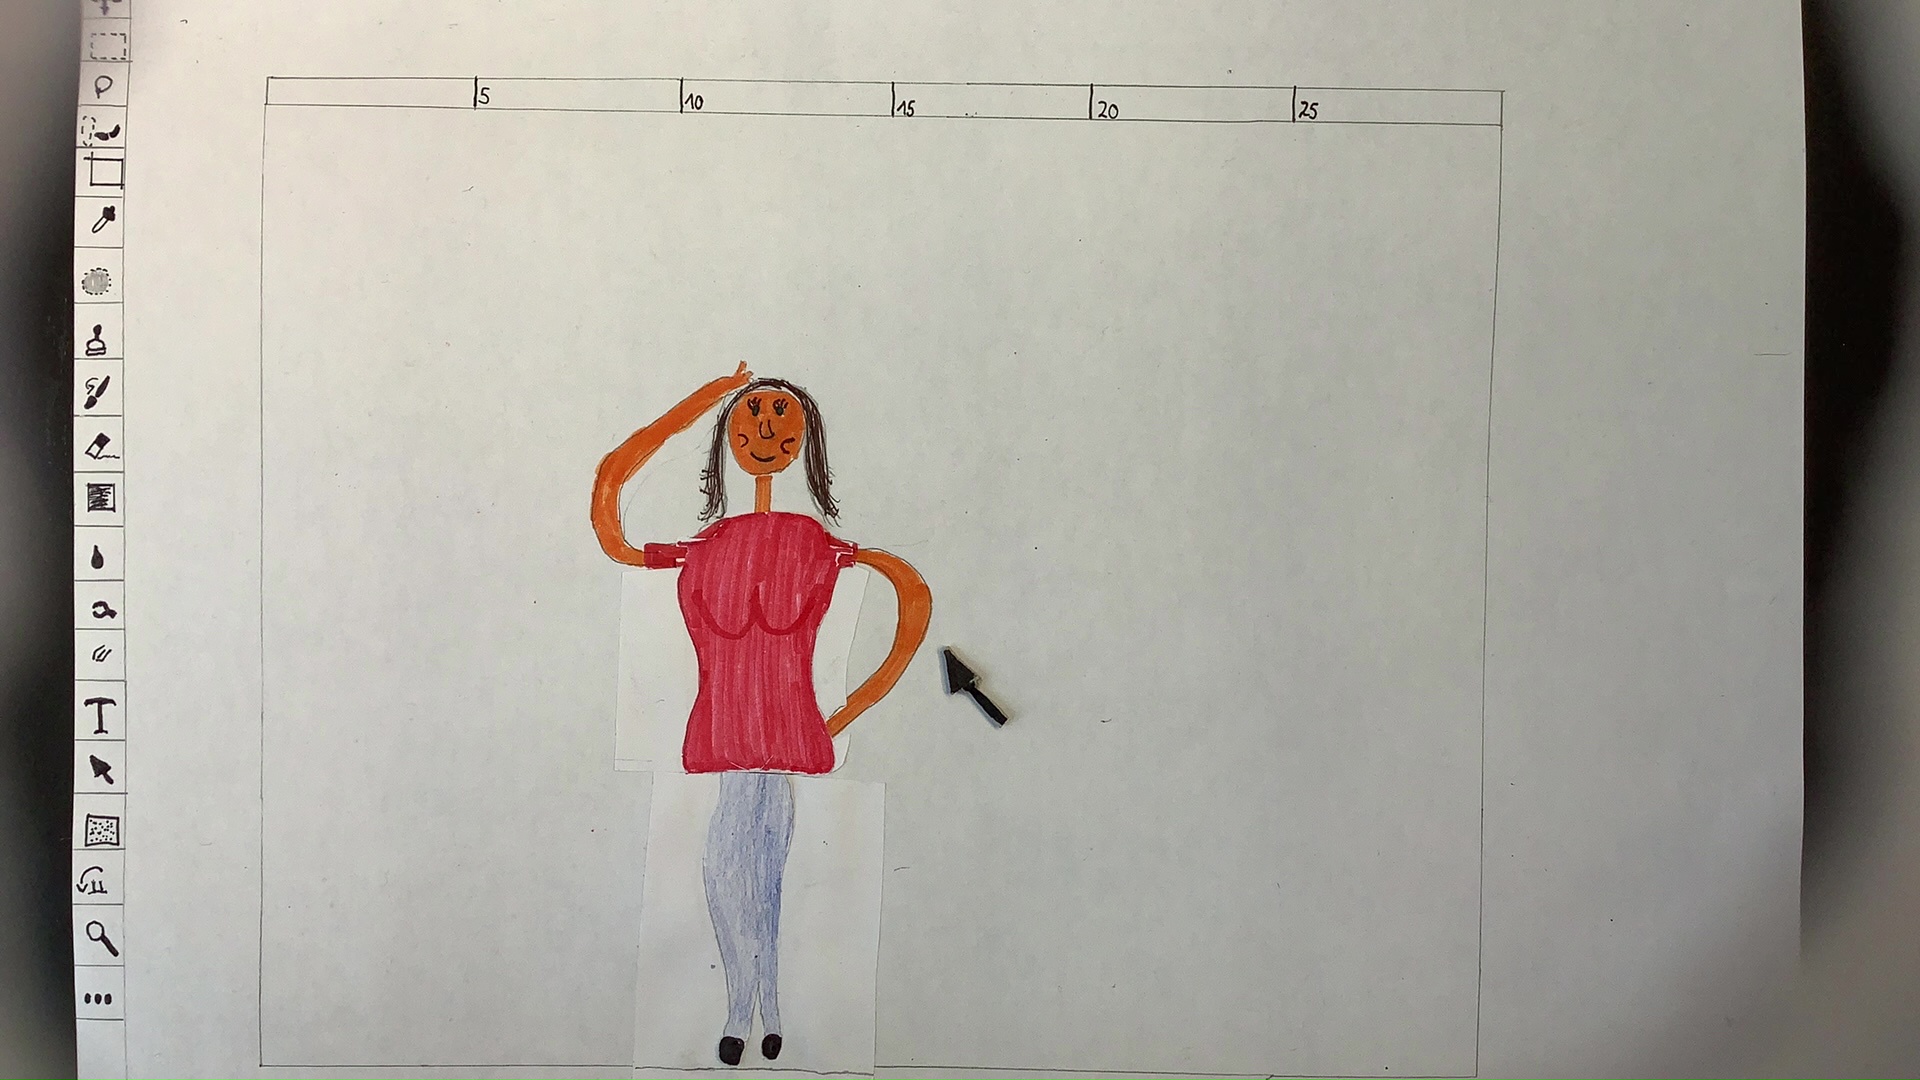 Example of first-person perspective: the main actress looks at a screen
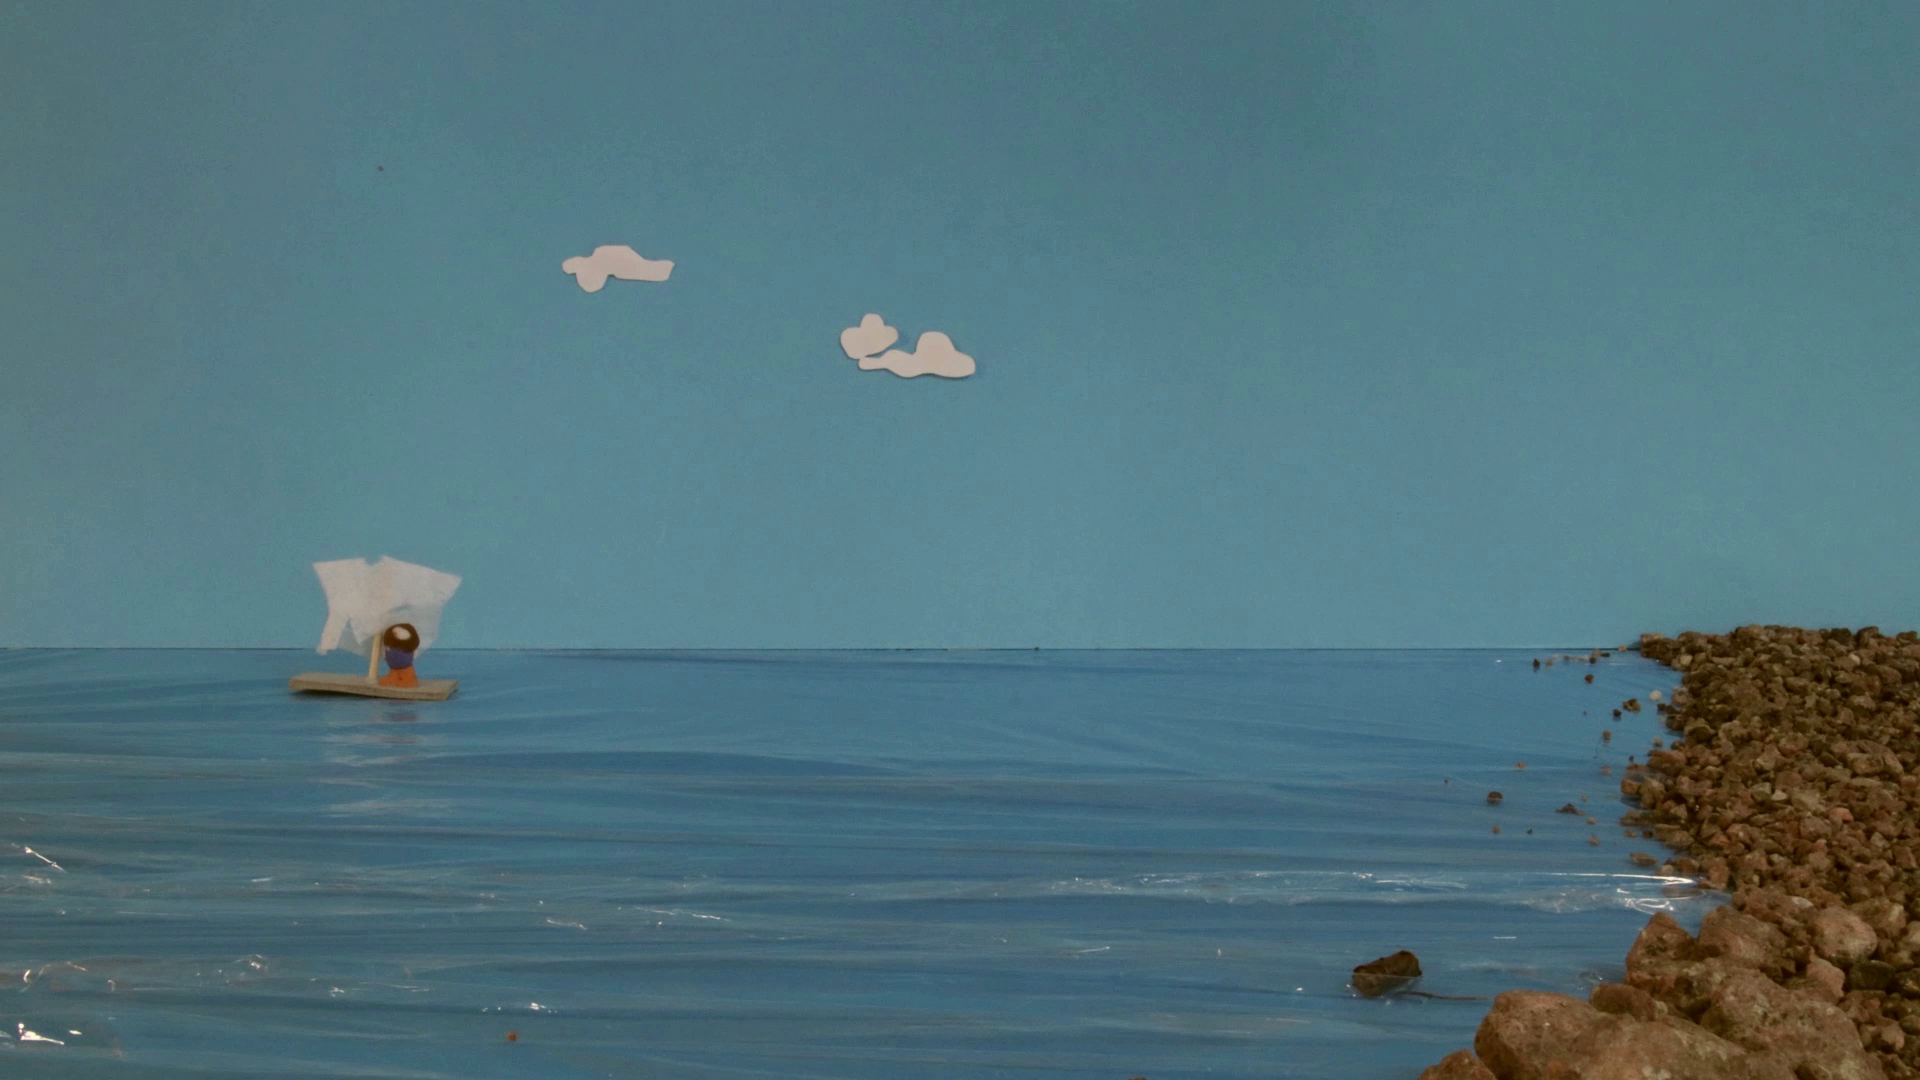
The street in the foreground and buildings in the middle and background create an effect of depth.
Three-dimensional animated film
The setting sizes for 3D animated films are the same as for normal films. However, due to the technical set-up, we are sometimes somewhat limited. For example, it is difficult to take an under-view perspective of a figure because the camera is too big and the minimum distance between the lens and the object cannot be maintained. Instead, it is much easier to create a top-view perspective or even a bird’s-eye view.
Examples of different perspectives in three-dimensional animated film.
Common mistakes
- The section of the photo is larger than the background and you can see a border.
- In some pictures, you can still see the hands from moving the figures or objects.
- The lamps in the room are moved or the daylight in the room changes, which also leads to flickering.
- There are neon lights in the room that create stripes on the images. This can be prevented by changing the exposure time.
In this animated film, you can see stripes that were created due to an incorrect exposure time during the use of neon tubes as lighting
- The white balance is set to „automatic“ and the colour temperature changes from picture to picture, which leads to flickering.
- The focus changes from frame to frame within a setting, resulting in an unwanted shift in focus.
- The movement duration was not estimated correctly and too few photos were taken, which means that the movement in the film does not look fluid.
- Camera or tripod or people in the room cast a shadow that can be seen in the individual pictures.
Related topics
Spatial and technical requirements for the production of animated films / Camera work for advanced users / Camera basics/ Camera advanced / Composition and colour / Basics of lighting
External links
Dragonframe
A Stop Motion Software for Laptops / Desktop Computers (Mac, Windows and Linux)
Website of the developer: https://www.dragonframe.com/
Stop Motion Studio App
Website of the manufacturer: https://www.cateater.com
Download for Android in the Play Store or for Apple in the Apple Store.
In the app there is a very good manual in German and English in the menu under „Help“.
You can also find them on the Internet at:
German version: https://www.cateater.com/help/stopmotion/de/
English version: https://www.cateater.com/help/stopmotion/en/.
For other languages you can use Google translation in the top right corner.
There are also many video tutorials from the manufacturer: https://www.cateater.com/tutorials.html.
However, you can also find many tutorials on YouTube in other languages on how to use the app.
Methodology
- It is best to always have the camera manual with you, either in paper or digital form, so that you can refer to it if necessary. For participants, the most important operating instructions and settings can be summarised on a handout.
- The same applies to the software used. Take a look at the user manual or tutorials. You can then create a handout for the participants that explains the operation and setting options.
- Just as with the choice of the form of the animated film, the following also applies to the explanation of the operating and setting options: be aware of the capabilities of the target group depending on their age, motivation, motor skills or ability to concentrate!
Do not overwhelm the participants with excessive information, especially at the beginning of the project. Many things can also be explained to them during the process of animated film production according to the principle of „learning by doing“. Therefore, it is important that you as an educator observe the participants during the production of the animated film and regularly look at their results, preferably together with them. - To explain app or software settings to a group of participants, it is useful to show the screen of the smartphone, tablet or computer on a large display or using a video projector.
Computers can usually be connected to a screen or video projector with a cable.
For Android smartphones and tablets and iPhones or iPads, you can use a so-called mirror-share function via Chromecast or Apple TV.
For the Lightning connector of the iPhone or iPad, there are also special adapters to connect the screen view via HDMI to a screen or video projector. - Even though you have given a very clear introduction to the use of the technology, it is normal that not all participants will understand everything immediately and do everything correctly.
Be prepared to explain many things several times and do not get frustrated, it is part of the learning process!
The best way for participants to learn is to work themselves!
Terminology
remote shutter release, motion blur, onion skin, electronic iris, mechanical iris. electronic front curtain shutter, image resolution, frame rate, spatial depth, depth of field, focus, auto focus, manual focus, fixed focus fens, peaking function, exposure time, aperture, ISO, white balance, colour temperature.